As you know, is a platform that allows you to generate a static, headless version of your WordPress site. In one click.
Buddy is a service that allows you to set up automated deployments of your code to a site hosted on Strattic.
Sound like a great match? We thought so too! 😃
In this guide, we will show you how to automate deploying code from a Git repository to Strattic.
Some of the benefits of hosting your WordPress code in a Git repository and deploying it automatically to Strattic with Buddy:
-
No need to use FTP clients anymore!
-
Thanks to Git, all of your code, along with its change history, is hosted in one place.
-
You can configure additional actions in your pipeline like creating a CSS file from SCSS and so much more!
Recommendations and Best Practices
Before we get started with the setup, we have a few recommendations and best practices to keep in mind when integrating your repository and Strattic’s platform:
-
DO NOT overwrite or track your wp-config.php file!
This file contains Strattic configurations, your database passwords, salts, and other configurations. It should NOT be overwritten or exposed in a repository. -
Make sure you’re using a Strattic-compatible .gitignore file:
– You should probably have the .gitignore file in the WordPress root directory (where the wp-admin, wp-content, wp-includes directories are).
– This gist is an example to ignore WordPress core files.
– As an alternative, this gist is more strict and will only track changes in the mu-plugins, plugins, and themes directories of your wp-content directory.
– If you are using any “mu-plugins”, make sure you are tracking the mu-plugins directory. If not, it can be ignored (just make sure to ignore the ludicrous directory and the strattic.php files in your .gitignore, since these should not be changed or removed).
-
Only deploy code to Strattic, not your entire WordPress instance. This includes files like images, PDFs, etc.
-
The main files for version control are going to be in wp-content, which includes the mu-plugins, plugins, and themes directories. Any other code files or folders that need to be tracked can and should be added to the wp-content directory.
-
Since you’re deploying from a repository, make sure you’ve got a good workflow down for creating changes like adding posts, images, or updating styles and functionality. A solid way to think about this is:
– Code goes “up” (to the WordPress site) in your deployment from the repository to WordPress site. For example, if you want to install a theme or plugin, you should first add the code files to your repository, then deploy those changes to the site, and activate the plugin via the WordPress dashboard.
– Content (images and database) go “down”, to your local environment, from your staging WordPress site. Since you can’t really “pull” from your site to your repository, you may need to download a backup of your site from the Strattic dashboard or use a free migration plugin like Migrate Guru. If you would like to continuously pull down your database, another solution would be to set up WP Migrate DB Pro (a paid plugin) on your staging and local sites, pulling down your database and media files with the Media File Add-on (a paid add-on).
Again, these are all just recommendations, and you know your site best.
If anything goes wrong, we always have a daily backup of your site which you can access in your Strattic Dashboard #safetyfirst🤓 .
Ok, let’s get going!
Set up Buddy to deploy your Local code to the Production server
To follow along with this part of the guide, make sure you have:
-
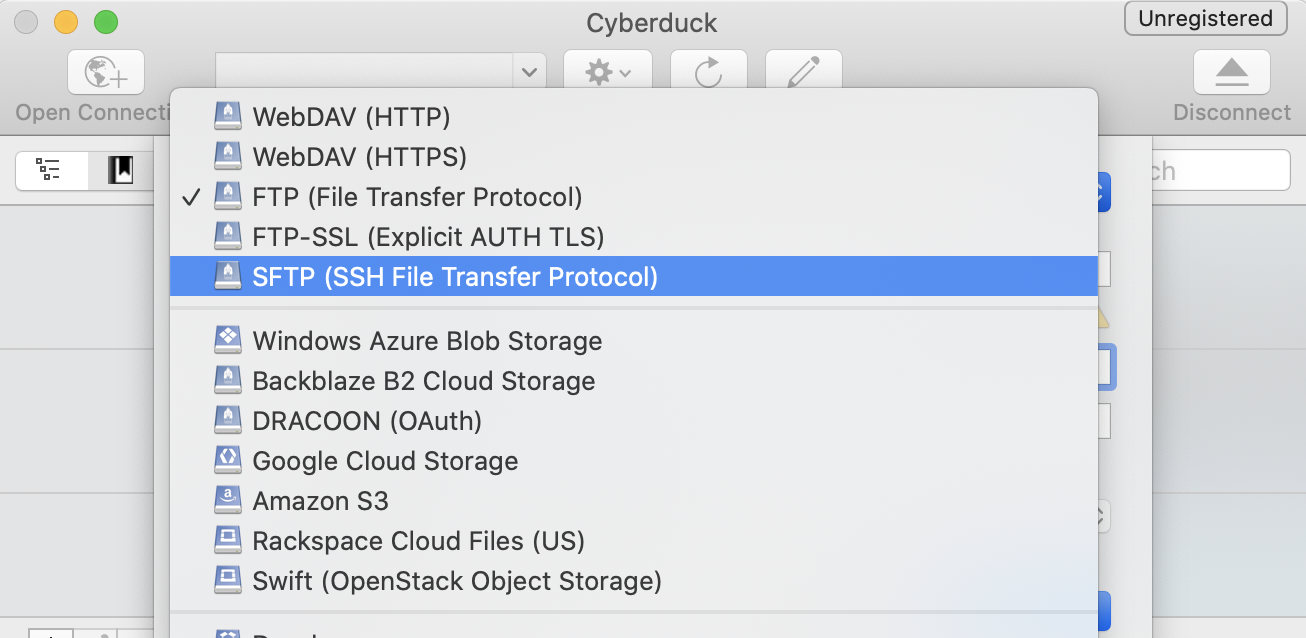
A Git repository on Github, Gitlab, Bitbucket, or self-hosted
-
An account on Buddy (On the free tier, you can deploy 1 to 5 projects up to 120 times total a month!)
-
Your site’s SFTP credentials, which can be found in your Strattic Dashboard
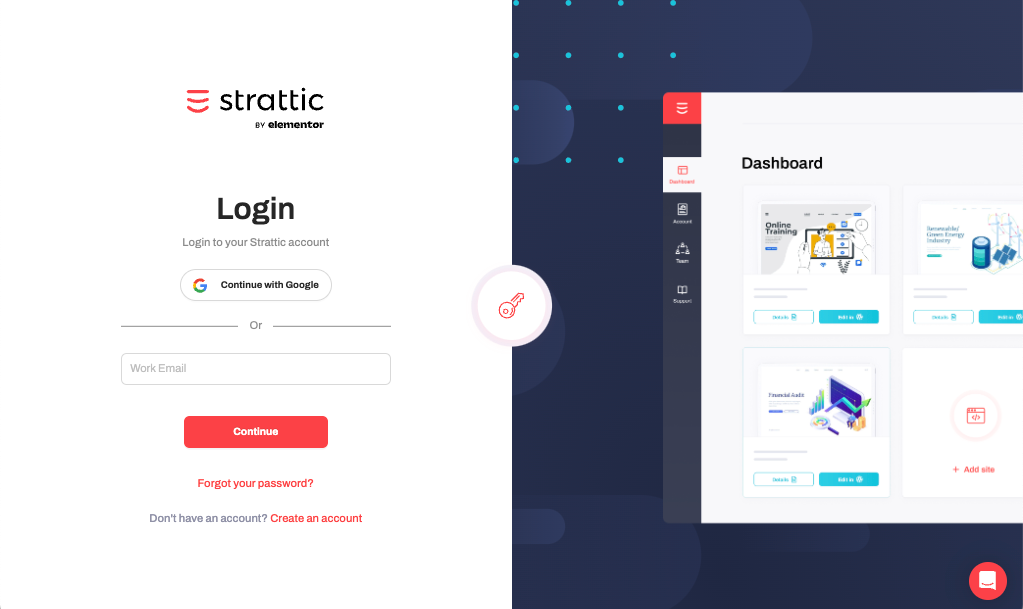
If you haven’t already, go to Buddy and create a free account. You’ll get an email to verify your email address, make sure you verify your email or you won’t be able to move on to the next step or deploy.
Already have an account? Make sure you sign in.
That was fast! Onward!
If you’ve just signed up for Buddy, you were probably greeted with a “Create a Project” button:
If you already have an account or got lost along the way, you can always go to your Buddy Dashboard or Projects tab and click “Create a new project”.
Once you do that, you’re greeted with the following:
Add a new name for your Production site. If your repository is on one of the listed services, you can click on the service and authenticate yourself. You will then be able to choose the repository you want to integrate on Buddy.
Once you locate the repository you want to deploy, click on it. Buddy will authorize it, add its deploy keys to the repository, and then take you to the new project where you will see the option to “Add a new pipeline”:
Note: Buddy will automatically detect if your repository is primarily PHP (in the case of WordPress) or if you’re running a headless/decoupled WordPress setup, and your project is primarily React or Vue, you’ll see something different.
Pipelines are a set of tasks performed in the context of a selected repository. To set up the pipeline, you’ll need your SFTP credentials from your Strattic Dashboard. Once you’re in the dashboard, click the “Details” button of the site you want to integrate.
From there, under the “WordPress Connection Info” tab, you can get your SFTP credentials:
Now it’s time to set up your Buddy pipeline. You should see a screen like this:
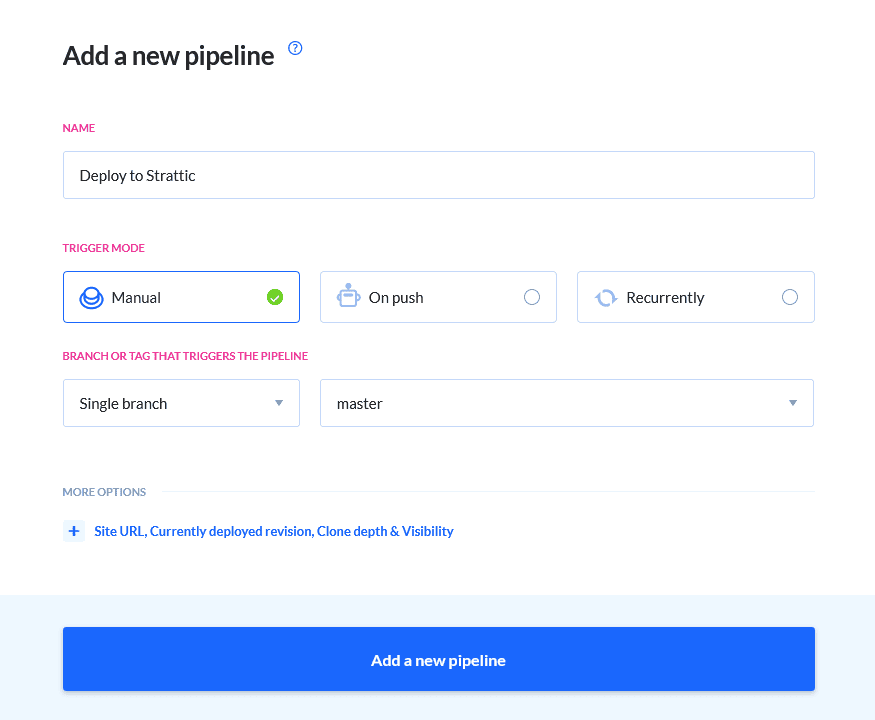
In order to set up the server you’ll need to do the following:
-
Name the Pipeline (something like “Production Deployment”, or “Deploy to Strattic”).
-
Trigger Mode: selecting manual will require you to manually deploy from the Buddy app, or if you select “On push”, code will be automatically deployed on push to that repository branch.
-
Branch or tag: for now, leave as “Single branch” and the “master” branch (or whatever your default branch is).
Now click on “add action” to go to the next screen:
Click the button “Transfer files via SSH-FTP” and enter the following:
-
Keep “GitHub repository” selected, unless you want artifacts on Buddy.
-
Keep the “source path” as is.
-
“Use proxy” can remain off.
-
Under Destination Server, use the following from your Strattic Dashboard:
-
“Hostname” is the value from “SFTP Address/Host”.
-
“Port” is the value from “Port”.
-
“Login” is the value from “User Name”.
-
“Password” is the value from “Password”.
-
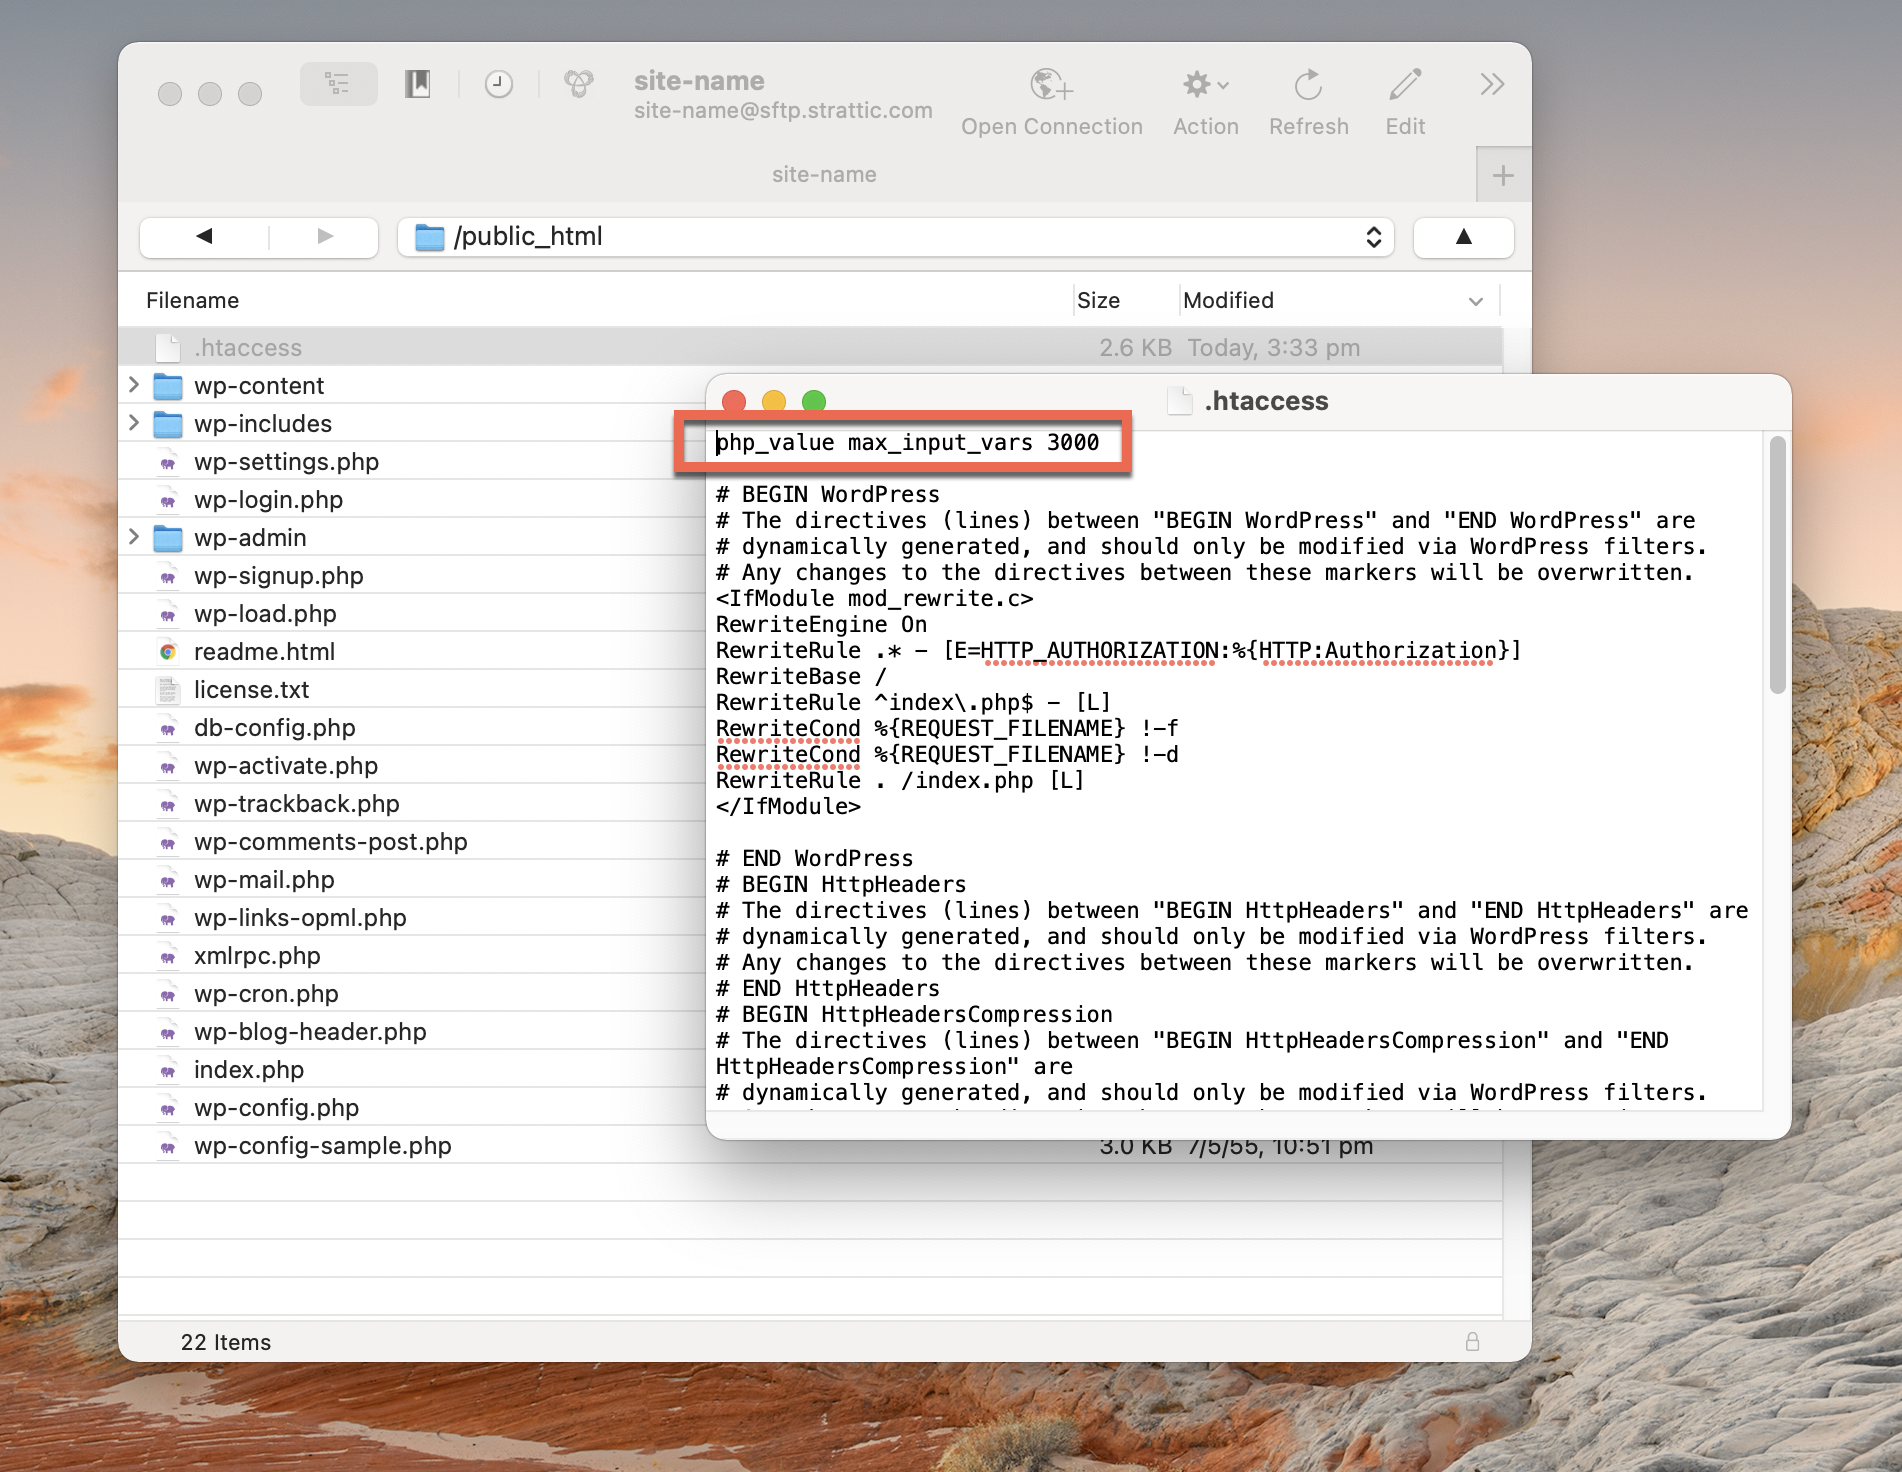
In “Remote Path”, input /public_html, this assumes your repository is based in the WordPress root as mentioned above.
-
-
Under Settings
-
“Delete files on server” can remain On.
-
“Use temporary files” can remain Off.
-
-
Click “Add this action”
You should be greeted with the following screen:
You can click the big, blue “Run pipeline” button, fill out any comments you like, and then click the big blue “Run now” button.
This will deploy the commit/s and you’ll be able to watch the progress. If there are any issues, please check your logs, reference Buddy’s Help and Support, and feel free to reach out to us as well.
Note: Depending on the size of your repository, your first deployment may take some time to complete. Subsequent deployments should go much faster and they’re only deploying the changes you made in the code.
If you need more information, you can find help here or contact Buddy for more information.
As noted above, you can also change the setting to deploy on push to the repository. You can do this by going to the Settings in the pipeline and changing the Trigger Mode to “On push”.
Otherwise, if you see a screen like this, your deployment was successful:
Congratulations!!! You have successfully deployed your website to Production!!!
🥳. 🎉. 🎊
Setting up Slack Notifications (Optional)
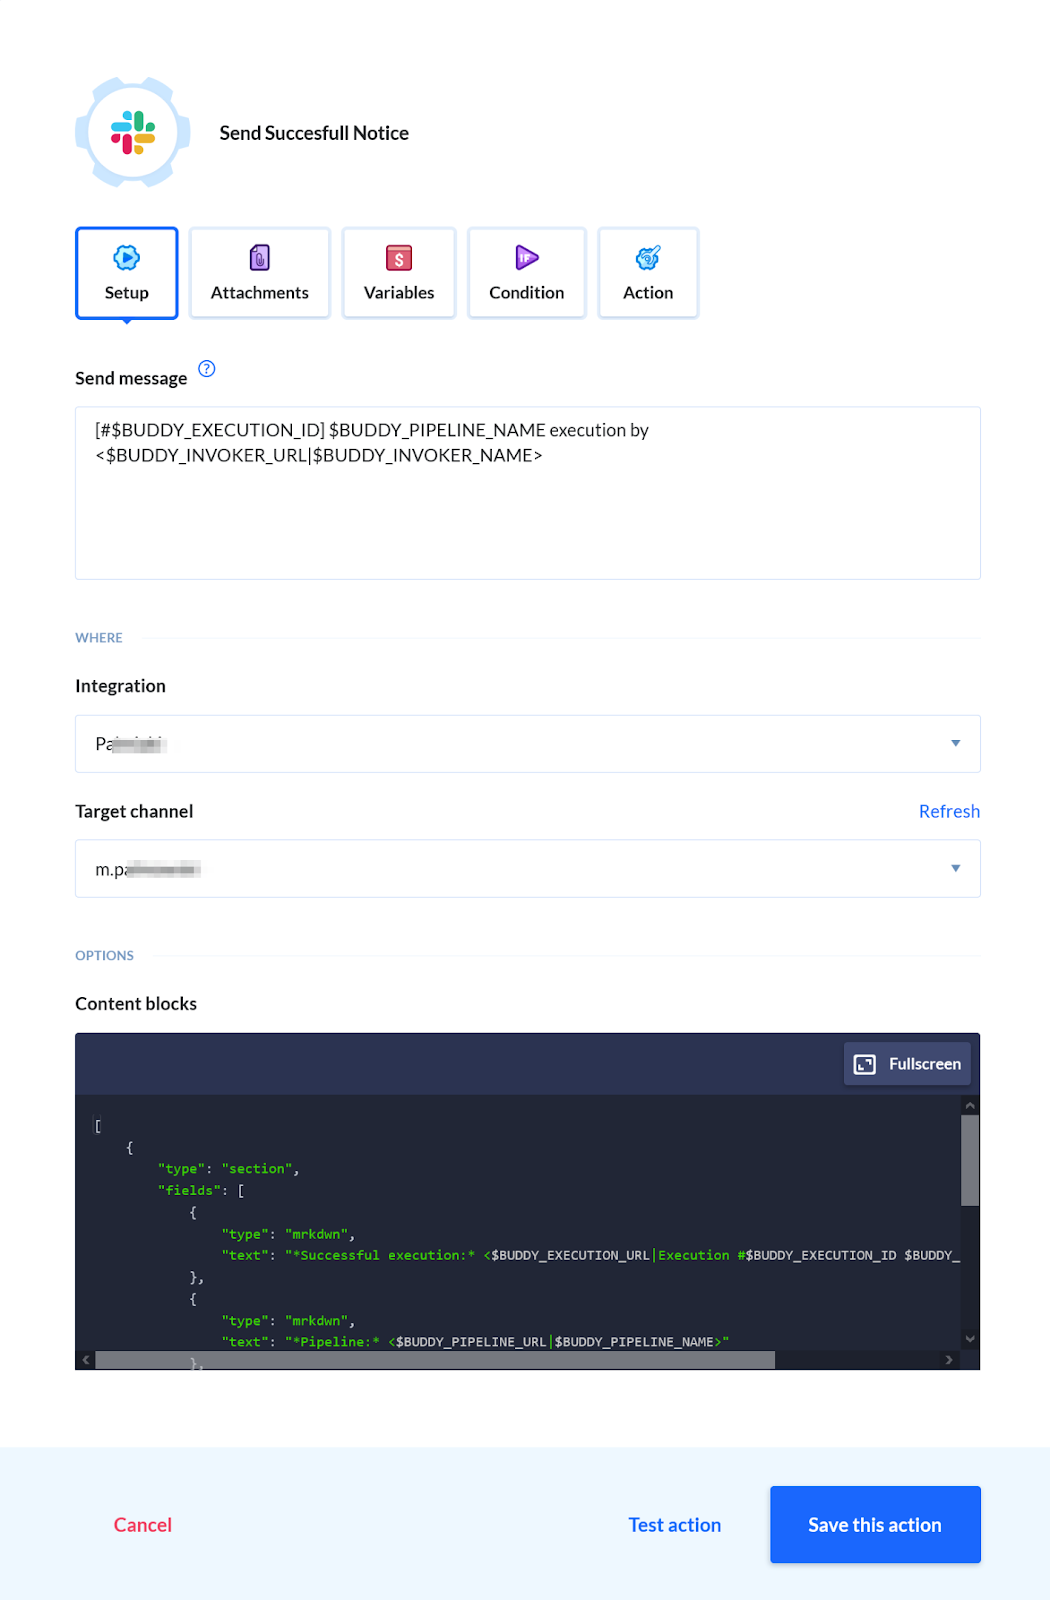
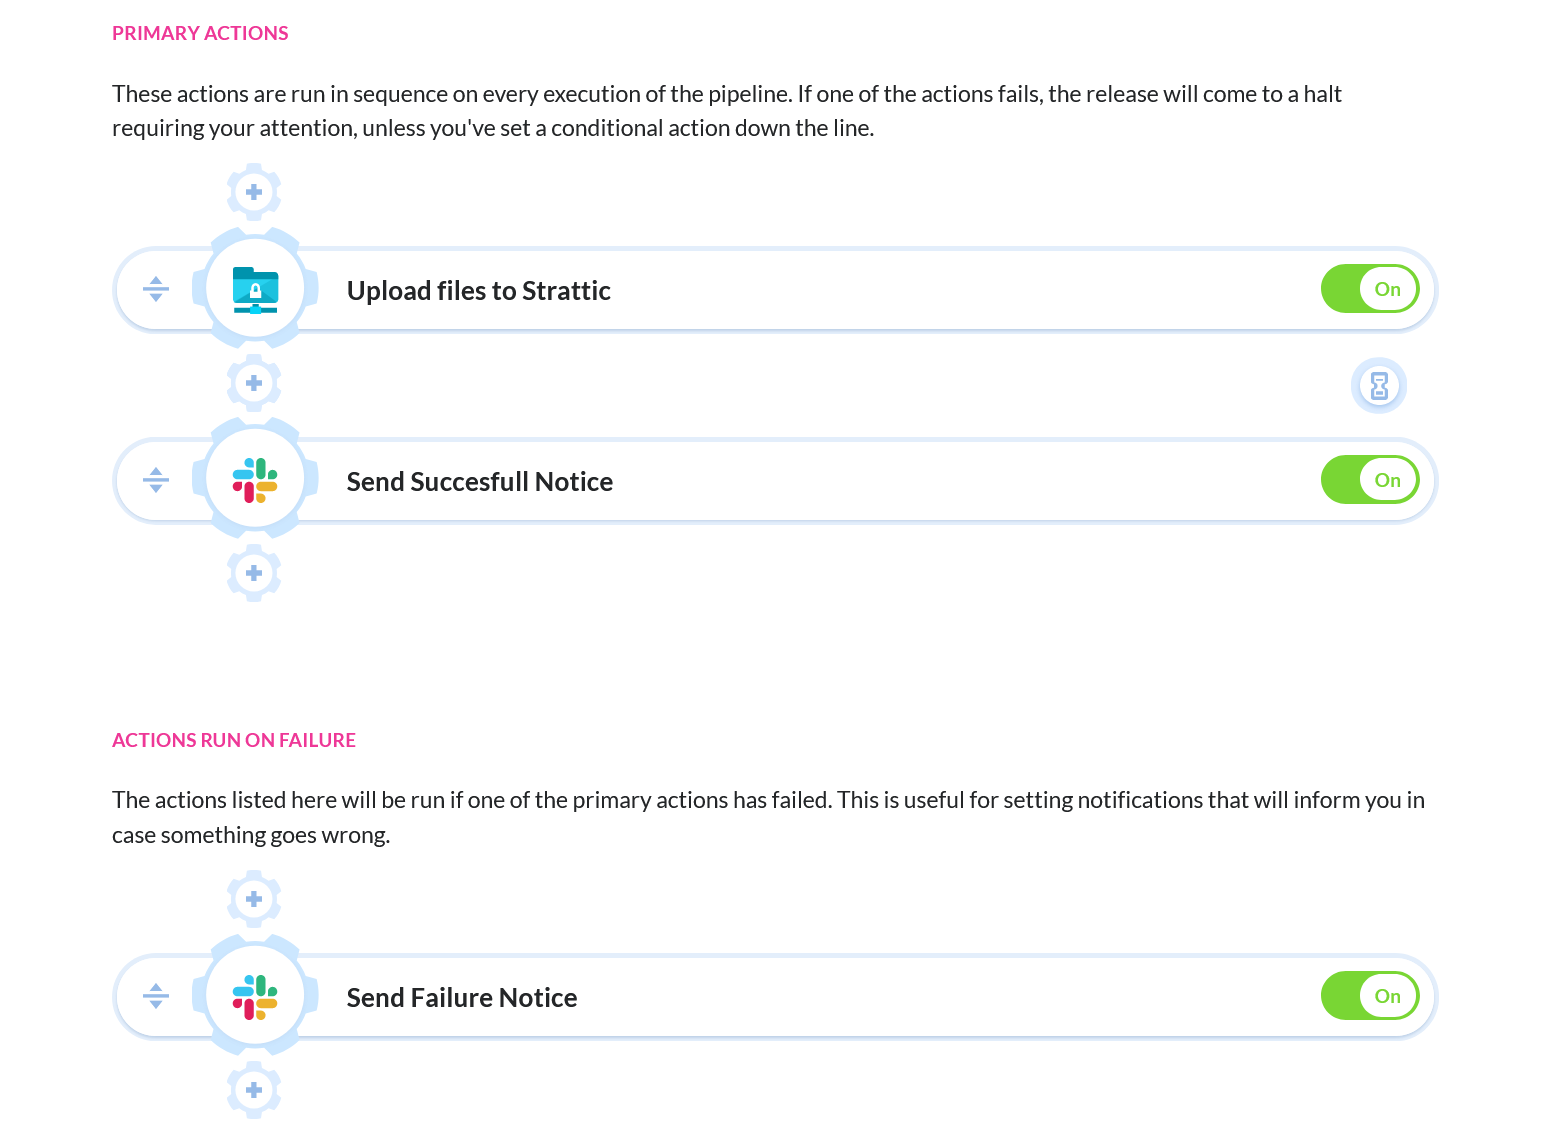
Now it’s time to take care of the Slack notifications. Add the Slack action as the next step in “Primary Actions” to get a notification when the files are uploaded successfully, and in “Actions Run on Failure” to be informed when the upload fails.
In both cases, all you need to do is to choose the channel on which you want to receive the notifications.
Here’s what the pipeline should look like after adding the notifications:
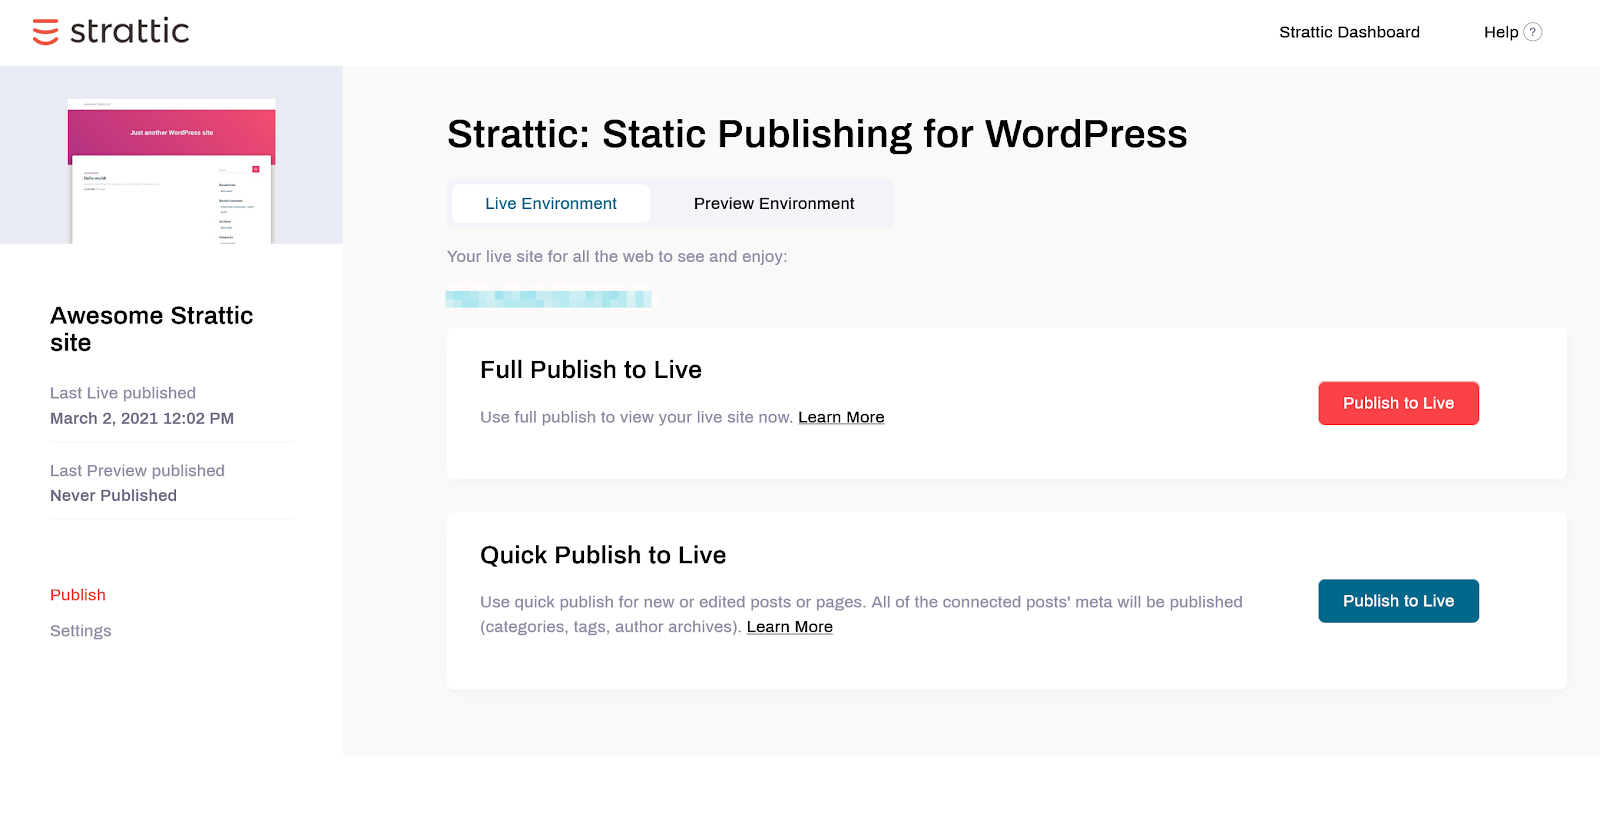
Generating the static site
Once the pipeline deploys the files to the server, the last thing to do is to sign in to your WordPress on Strattic and do a Full Publish to Live.
Voila! You just created a pipeline
that makes deploying files from Git to a server so much easier.
🎉 🎊
Extending the pipeline
Deploying files to SFTP isn’t the only thing you can do with Buddy. You can extend the pipeline with many different actions.
Here are some examples: