Smush is a free WordPress image compression and optimization plugin. It includes lossless compression, bulk smush, and incorrect image size detection, all of which aid in the faster loading of web pages without sacrificing image quality.
There’s a free version that limits images to under 1MB and uses throttling. A premium (i.e., paid) version, WP Smush Pro, that increases the limit to 32MB, eliminates the throttling and adds a few other features.
In this tutorial, we will be using the free version.
How To Set Up Smush On Your WordPress Site
Step 1
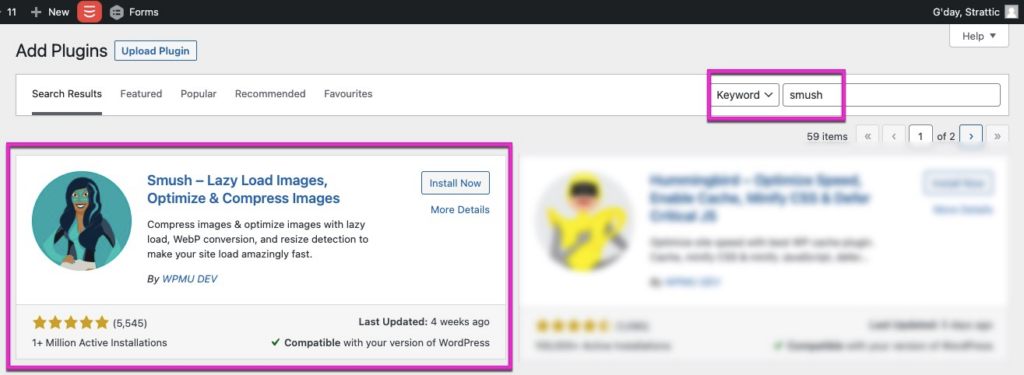
Log in to your WordPress Dashboard. Go to Plugins > Add New and search for the Smush plugin and then click the Install Now button, then the Activate button.
Step 2
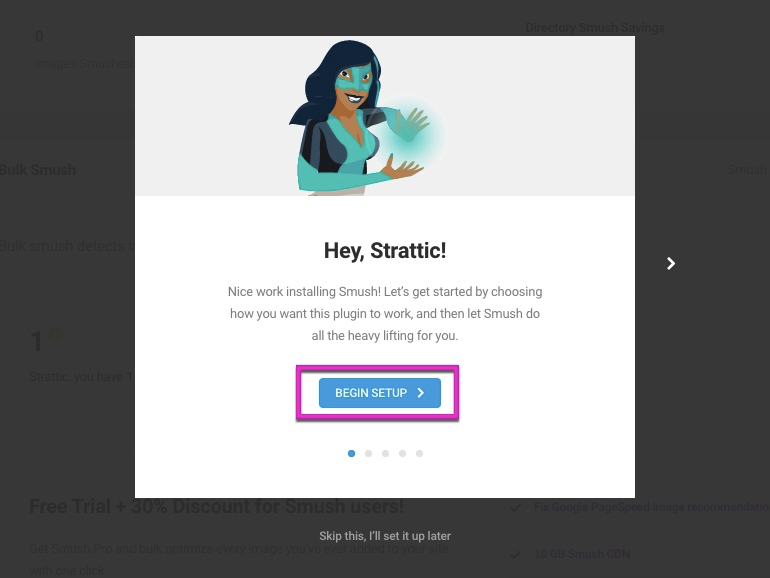
Once activated, go to the Smush dashboard Smush > Dashboard, where you’ll be taken through the setup process.
Recommended settings:
-
Automatically optimize new uploads
-
Strip my image metadata
-
Enable Lazy Loading (if you are not using another plugin for this already)
Click Finish Setup Wizard.
Step 3
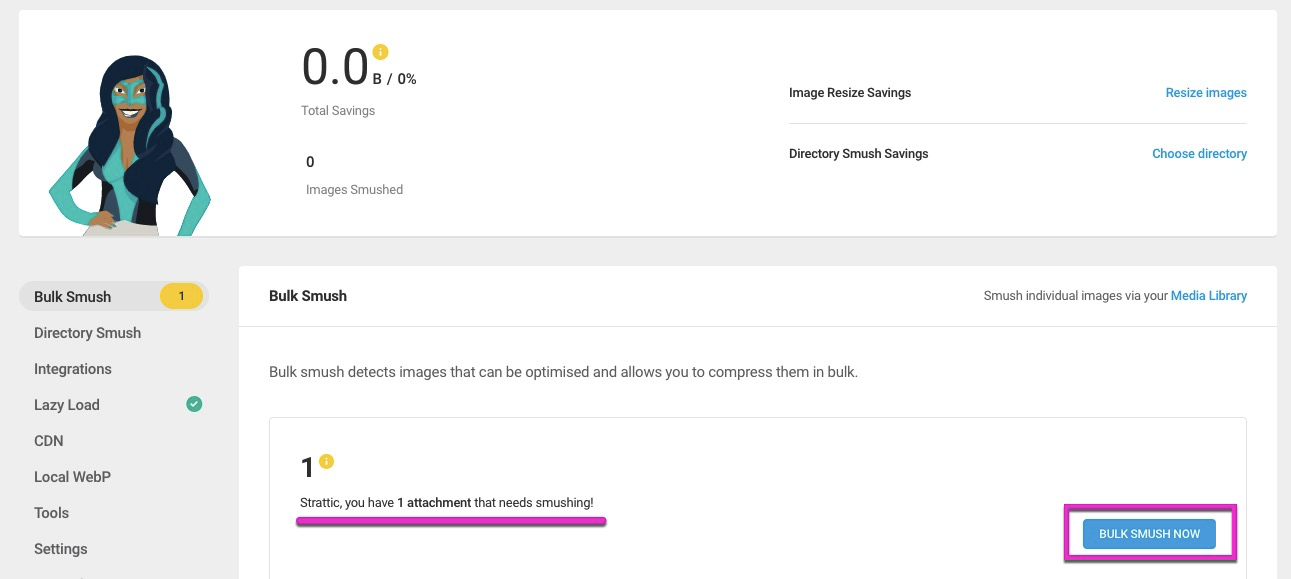
WP Smush will automatically optimize any new photos you upload. Still, since you most likely already have images on your site, you’ll want to use the Bulk Smush Now button to compact any existing images in your library.
Step 4
If you are happy with the results, do a Full Publish to your static site. That’s it! 🎉
⚠️ Please Note:
Smush Pro local WebP conversion is not yet compatible with Strattic. If you are looking for a WebP image solution, please review our supported options here.