How to set up a root domain (non-www) in AWS Route 53
Step 1.
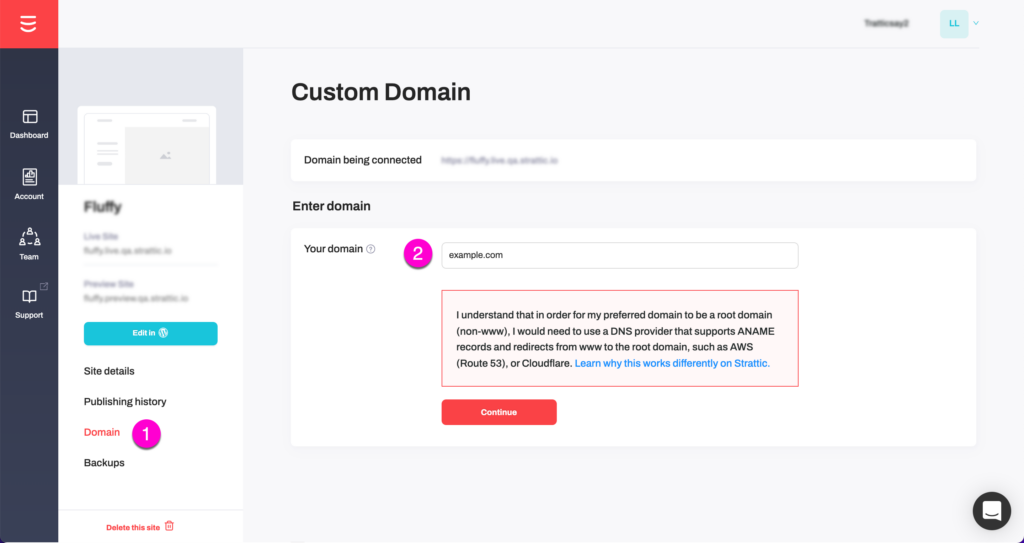
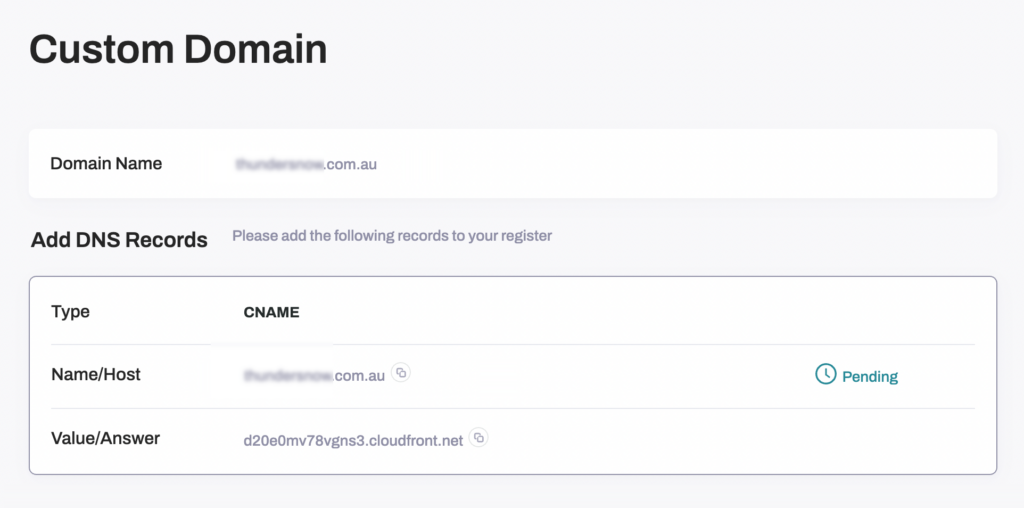
From the Strattic dashboard, click the Details button, then click the Domain menu item, input your domain (without the www) and click continue.
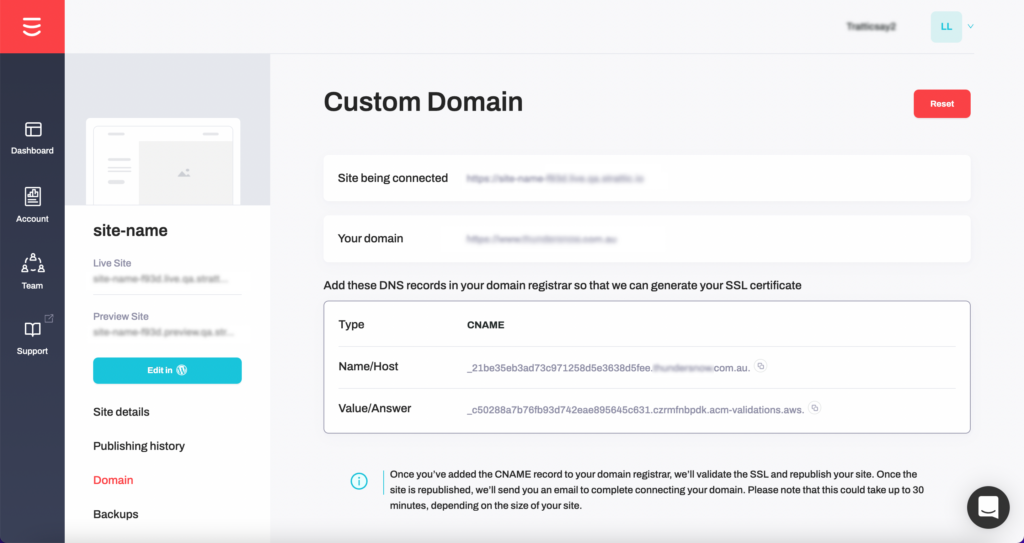
You’ll see a CNAME like this to validate the SSL certificate for the root domain.
Step 2.
Log in to your AWS console and navigate to Route 53.
Step 3.
Create a new hosted zone for your domain or use an existing hosted zone.

Step 4.
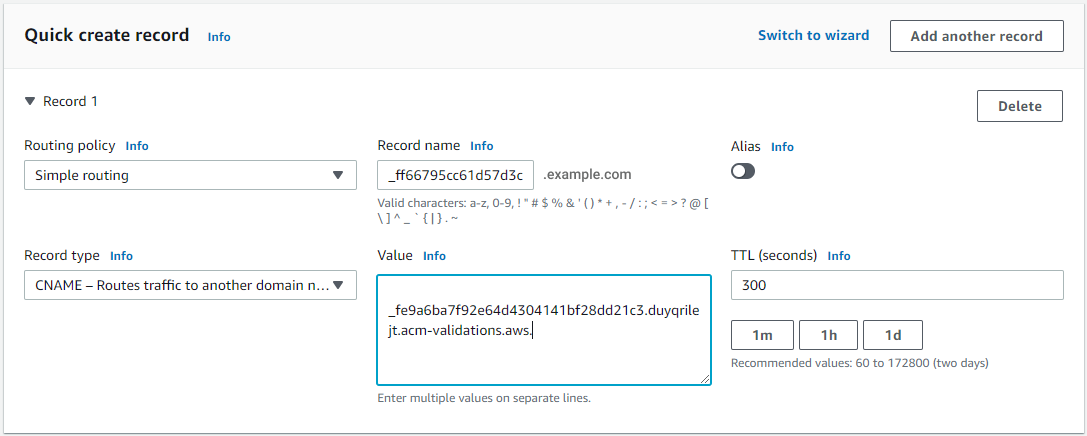
Add the CNAME to validate SSL (within domain hosting zone).
Step 5.
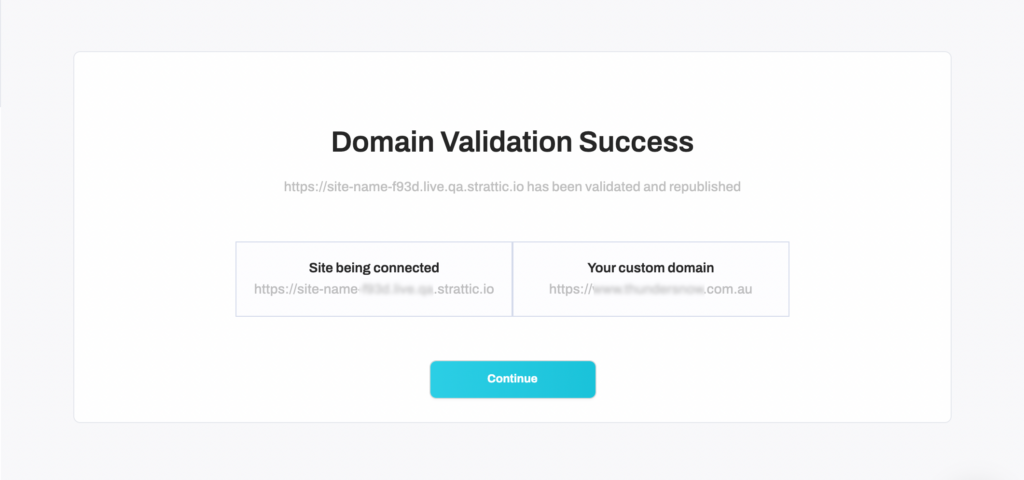
Please wait up to 30 minutes for this verification process to complete.
Step 6.
Click “Continue” in the Strattic Dashboard.
Step 7.
You’ll see a CNAME like this:
Step 8.
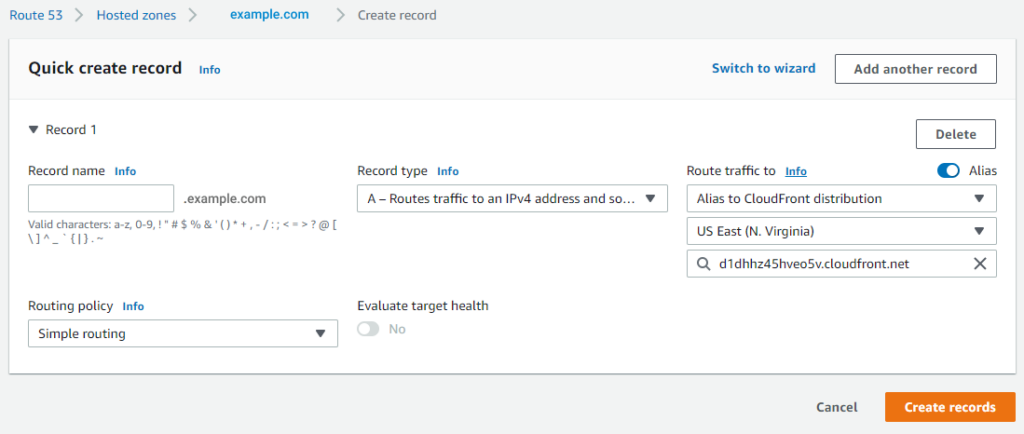
Add the record as an Alias A record to Cloudfront. Hint: just paste in the CloudFront value.
How to set up a redirect from www to root
(eg: www.example.com to example.com)
This will include:
Welcome to your little AWS crash course! Don’t worry, it isn’t as scary as it looks 😉
Creating the s3 bucket
Step 1.
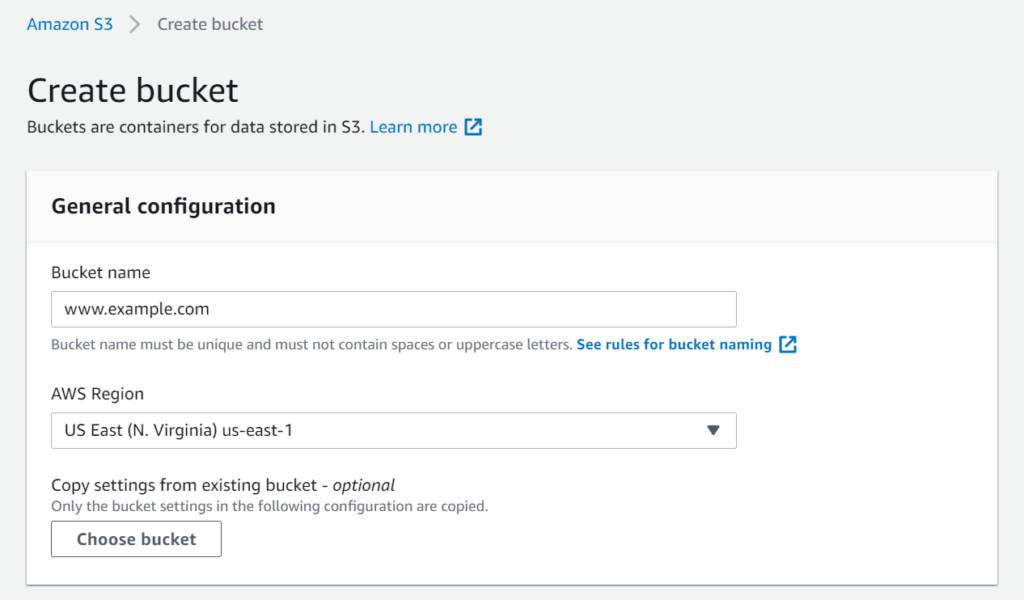
Navigate to s3 in your AWS console.
Step 2.
Create a new bucket with the name of your domain (eg: www.example.com) in region us-east-1. Make sure Block all public access is unchecked and click Save.
We’ll set up the redirect using the S3 static web hosting feature.
Step 3.
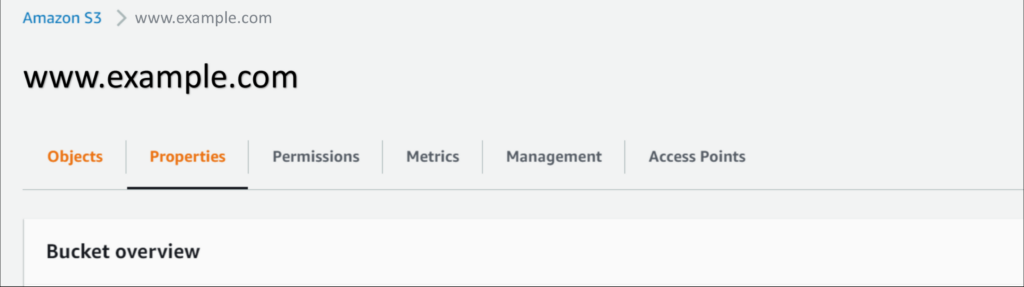
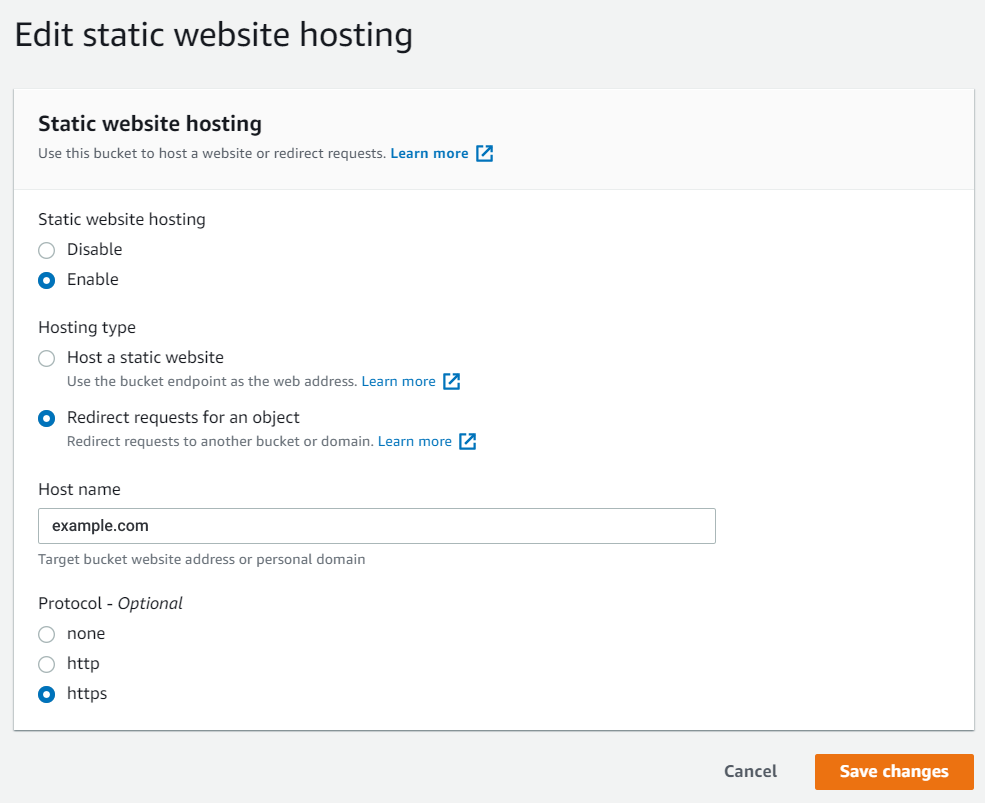
Navigate to the s3 bucket just created and select properties. Find the static web hosting section and Click on Edit.
Step 4.
Enable static web hosting, with type Redirects. The host name should be your root domain (eg: example.com), and the protocol should be set to https. Then hit Save Changes.
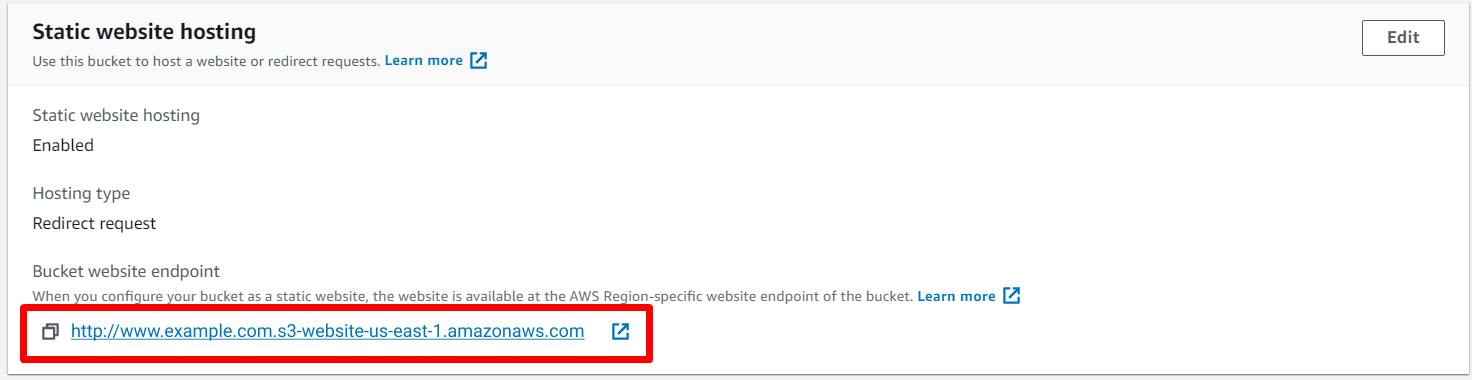
You can now test the redirection by clicking the link shown. Copy this link and save it somewhere, as we’re going to need it later on.
Creating the SSL Certificate for the www domain
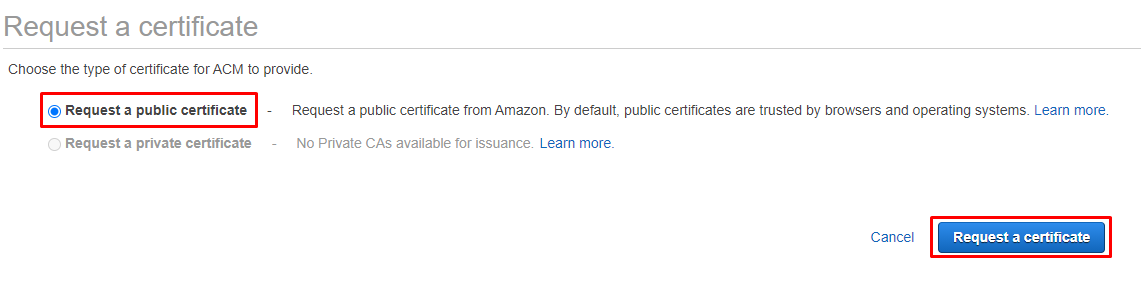
Step 1.
Open up AWS Certificate Manager and click the request a certificate (you can also import a custom certificate). Then select “Request a public certificate” and click “Request a Certificate”.
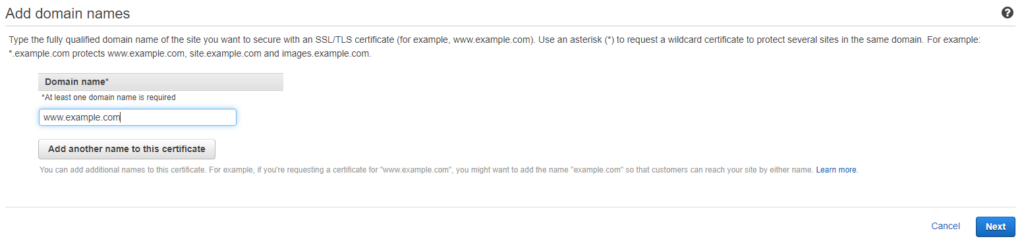
Step 2.
Enter your domain name including the www and click Next.
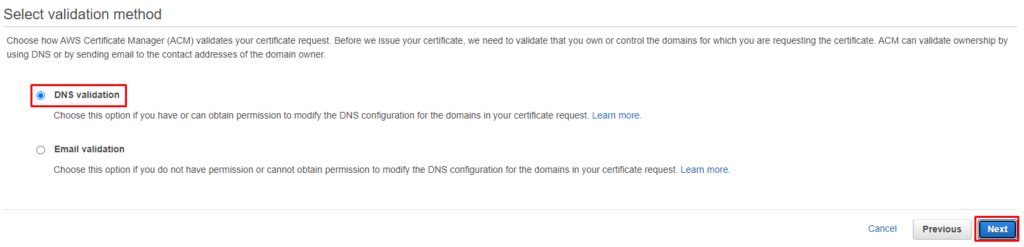
Step 3.
Select DNS Validation and click Next. On the next screen you can choose to add a tag, and then click Review. Once you review that everything is correct, click Confirm and Request.
Step 4.
Your new certificate will now have the status of Pending Validation. In order for the certificate to be issued, you will need to add the CNAME record provided to your hosting zone in Route 53.

After adding that CNAME it may take some time to propagate, but once the certificate status has updated to Issued, we can move on to creating the Cloudfront Distribution.
Create the Cloudfront distribution for the redirect
Step 1.
Open up Cloudfront in your AWS console and click on Create Distribution, then click Get started.

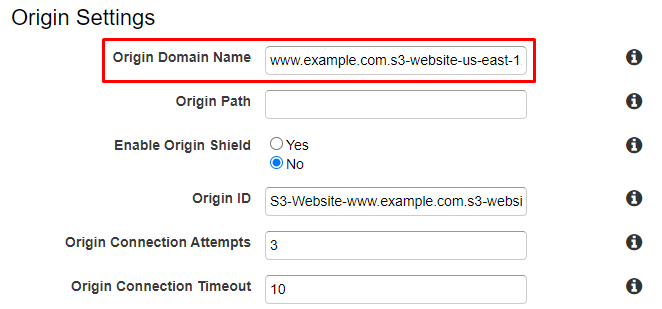
Step 2.
Under Origin Domain Name, you will need to add the domain for your static site that we saved earlier. The Origin ID will be populated automatically.
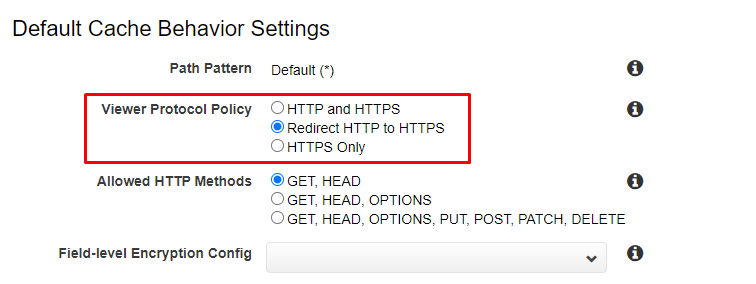
Step 3.
For Viewer protocol policy, select “Redirect HTTP to HTTPS”.
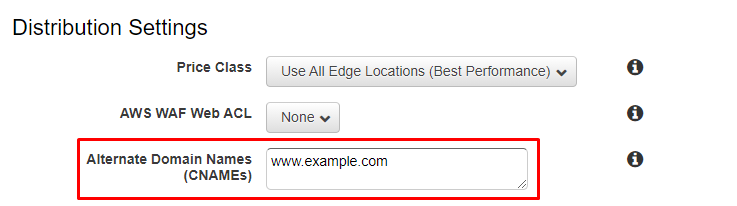
Step 4.
Add your domain name including the www under Alternate Domain Names.
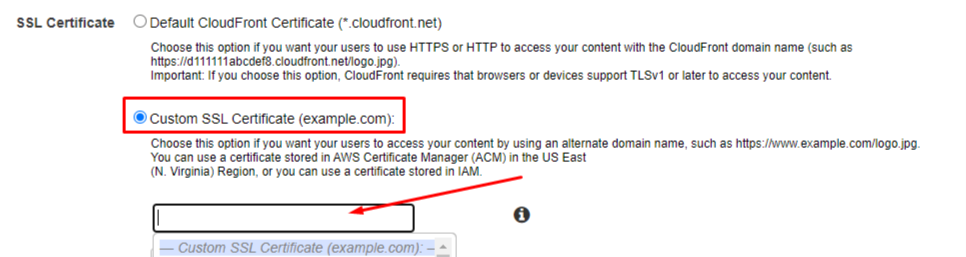
Step 5.
For the SSL certificate, select “Custom SSL certificate”, and choose the one that was just created for your domain from the dropdown.
Step 6.
All other settings can be left as the default, and you can go ahead and click on Create Distribution.
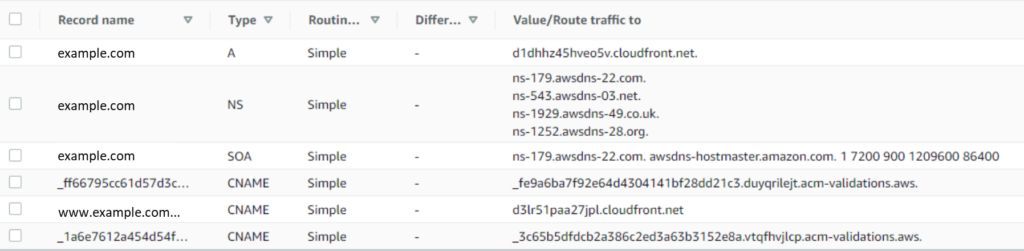
Step 7.
You can now add the final CNAME record in Route 53 for your www domain, which points to the new Cloudfront distribution domain. Your final Route 53 records should look something like this.
And that’s it! You’ll receive your AWS certificate in the post! 🙃
Congratulations! 🎉