In this article, we will go over how to migrate a site from your local development environment to Strattic hosting and Strattic hosting back to your local development environment.
To do this, we will be using the All-in-One WP Migration plugin.
Migrating from Local to Strattic
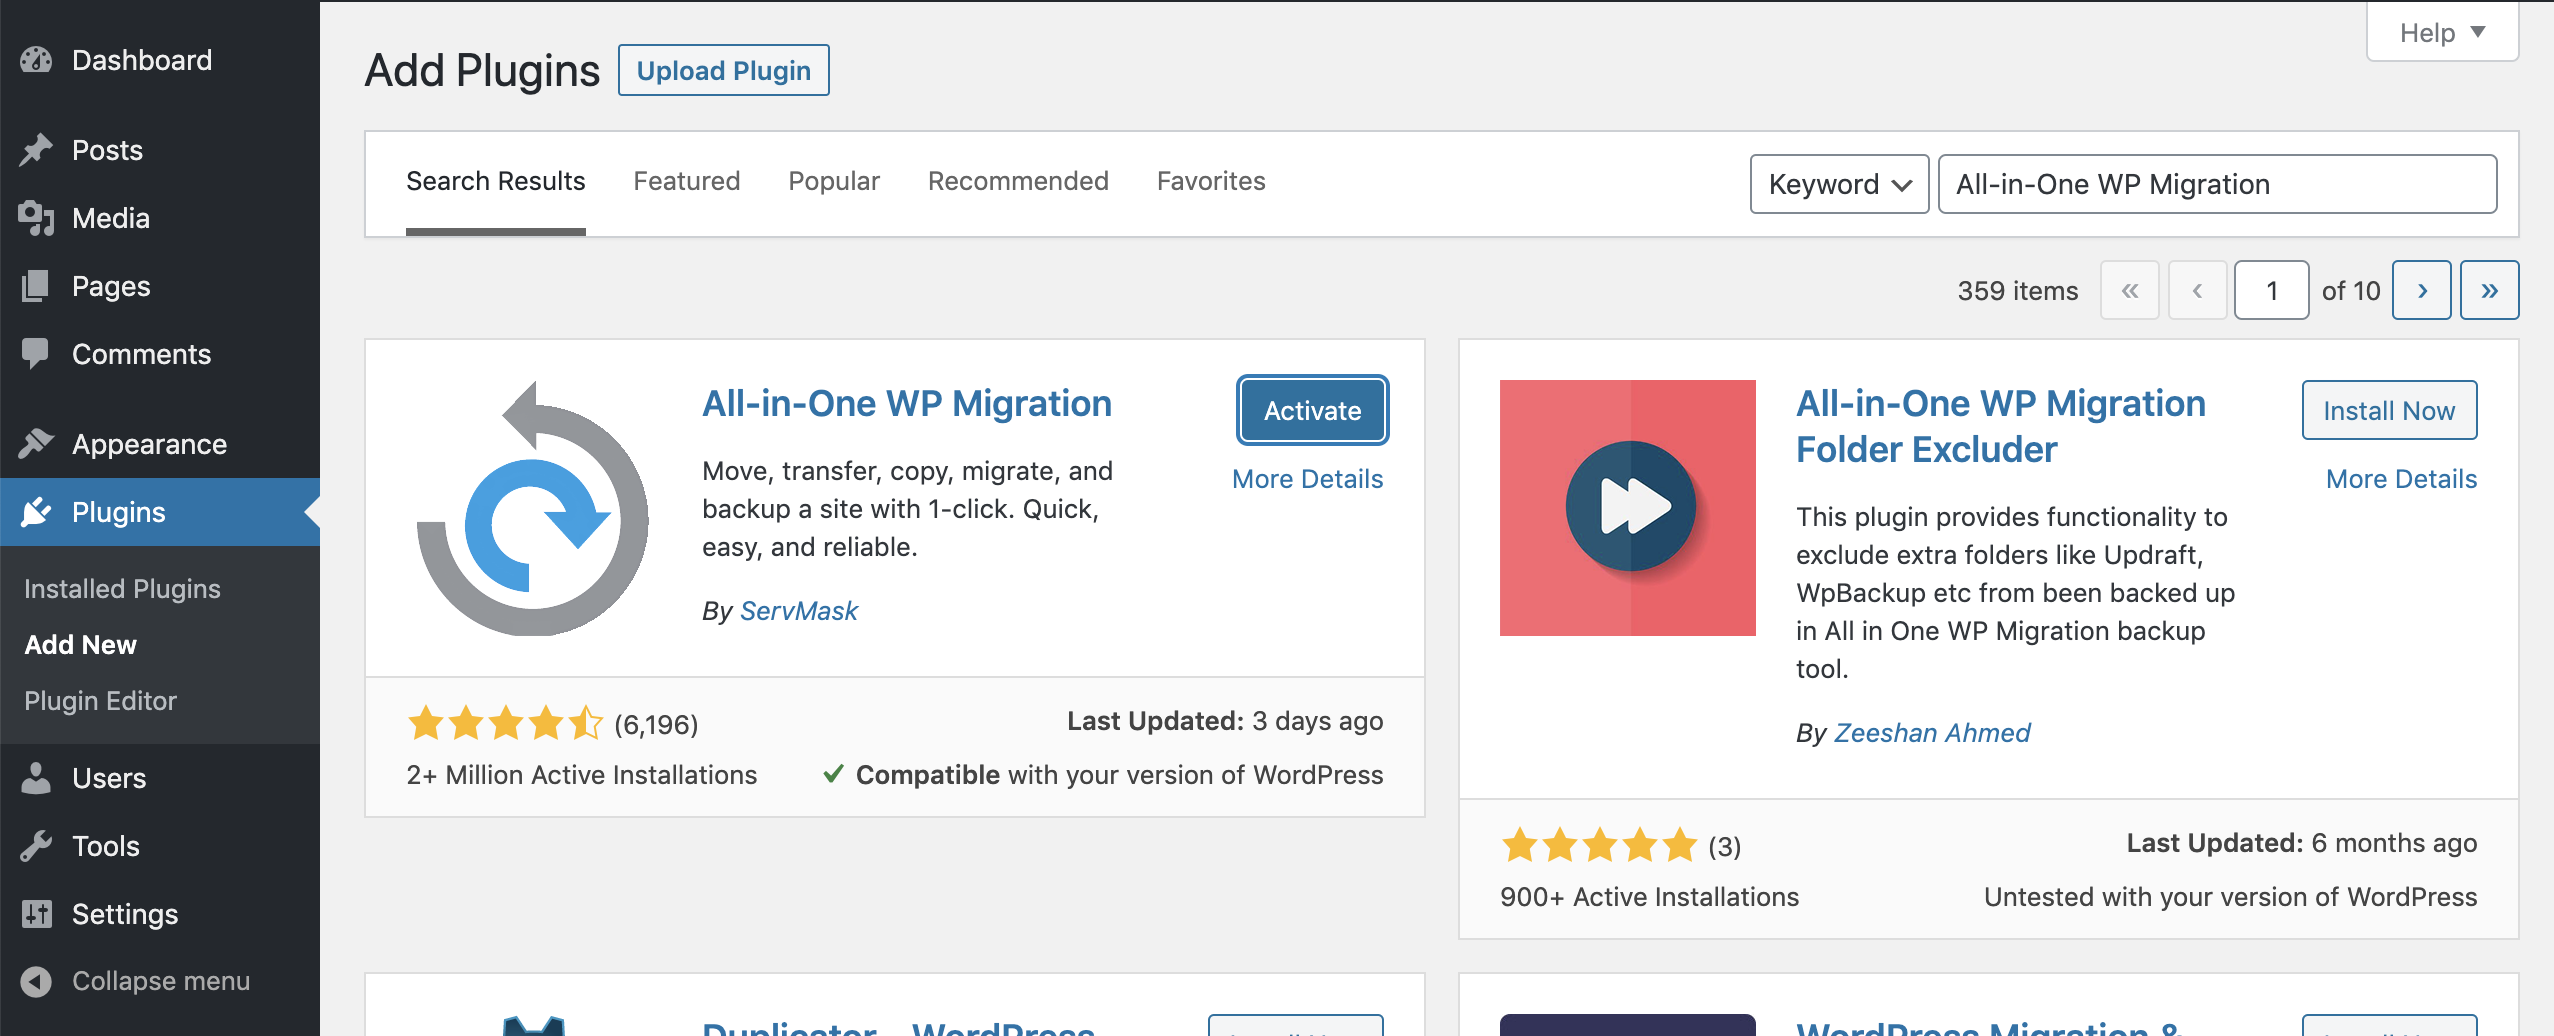
Start in your local development environment and install the All-in-One WP Migration plugin.
To do this, go to Plugins > Add New and search for “All-in-One WP Migration.” Install and then activate this plugin.
Then come into the All-in-One WP Migration settings for Export.
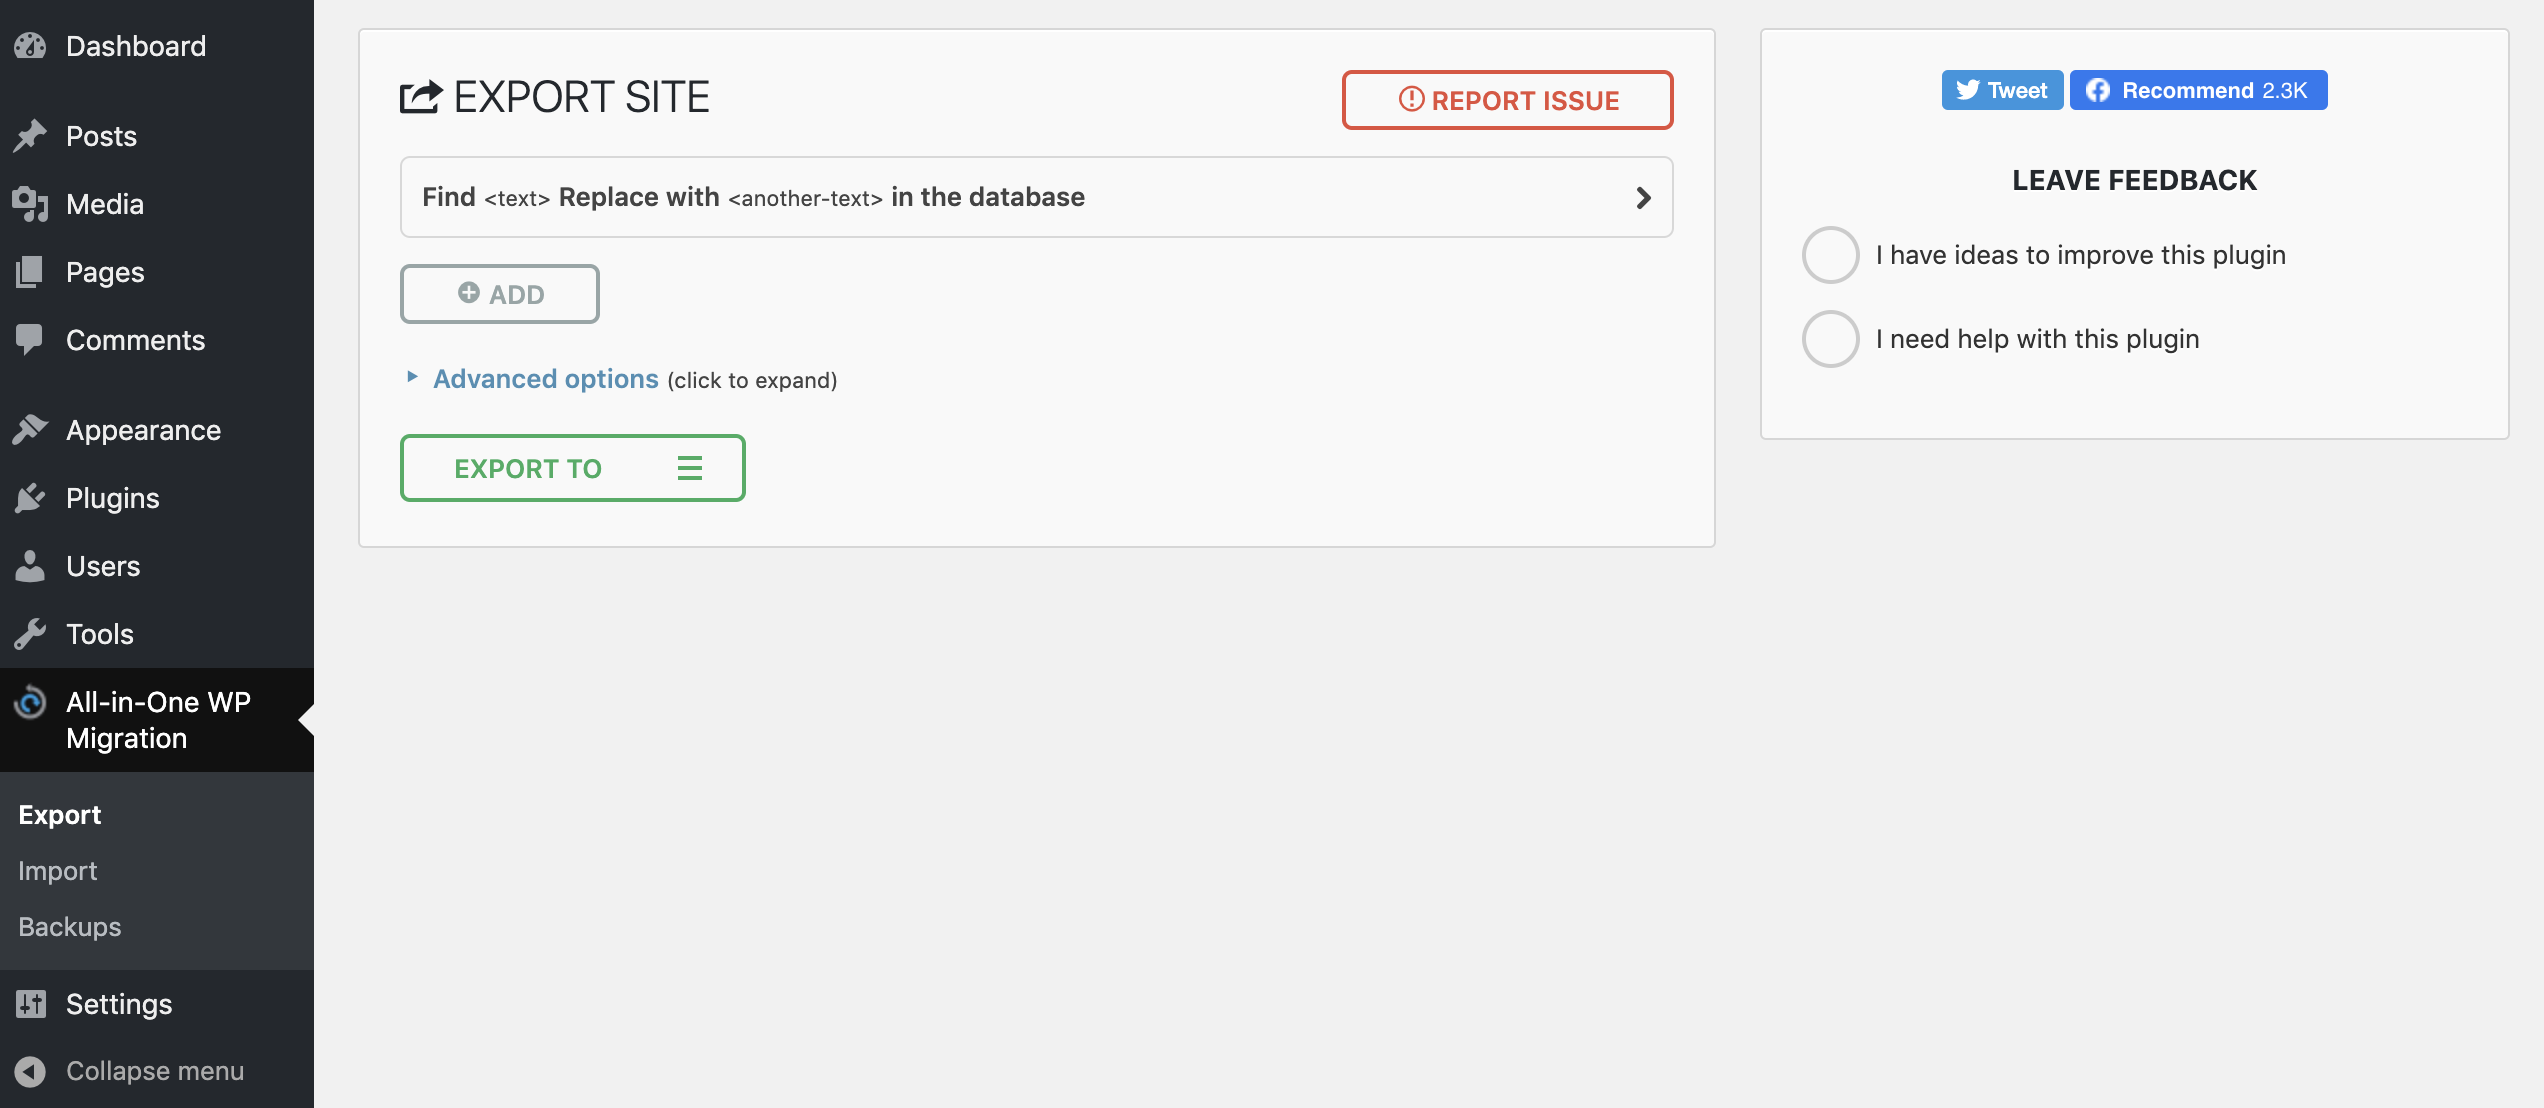
Click the “+ Add” button. This will add a “Find” and “Replace with” field.
Enter the URL of your local WordPress site into the “Find” field. For example: http://test-site.local/ or http://test-site.dev/ . You can find the correct value by selecting it from the browser.
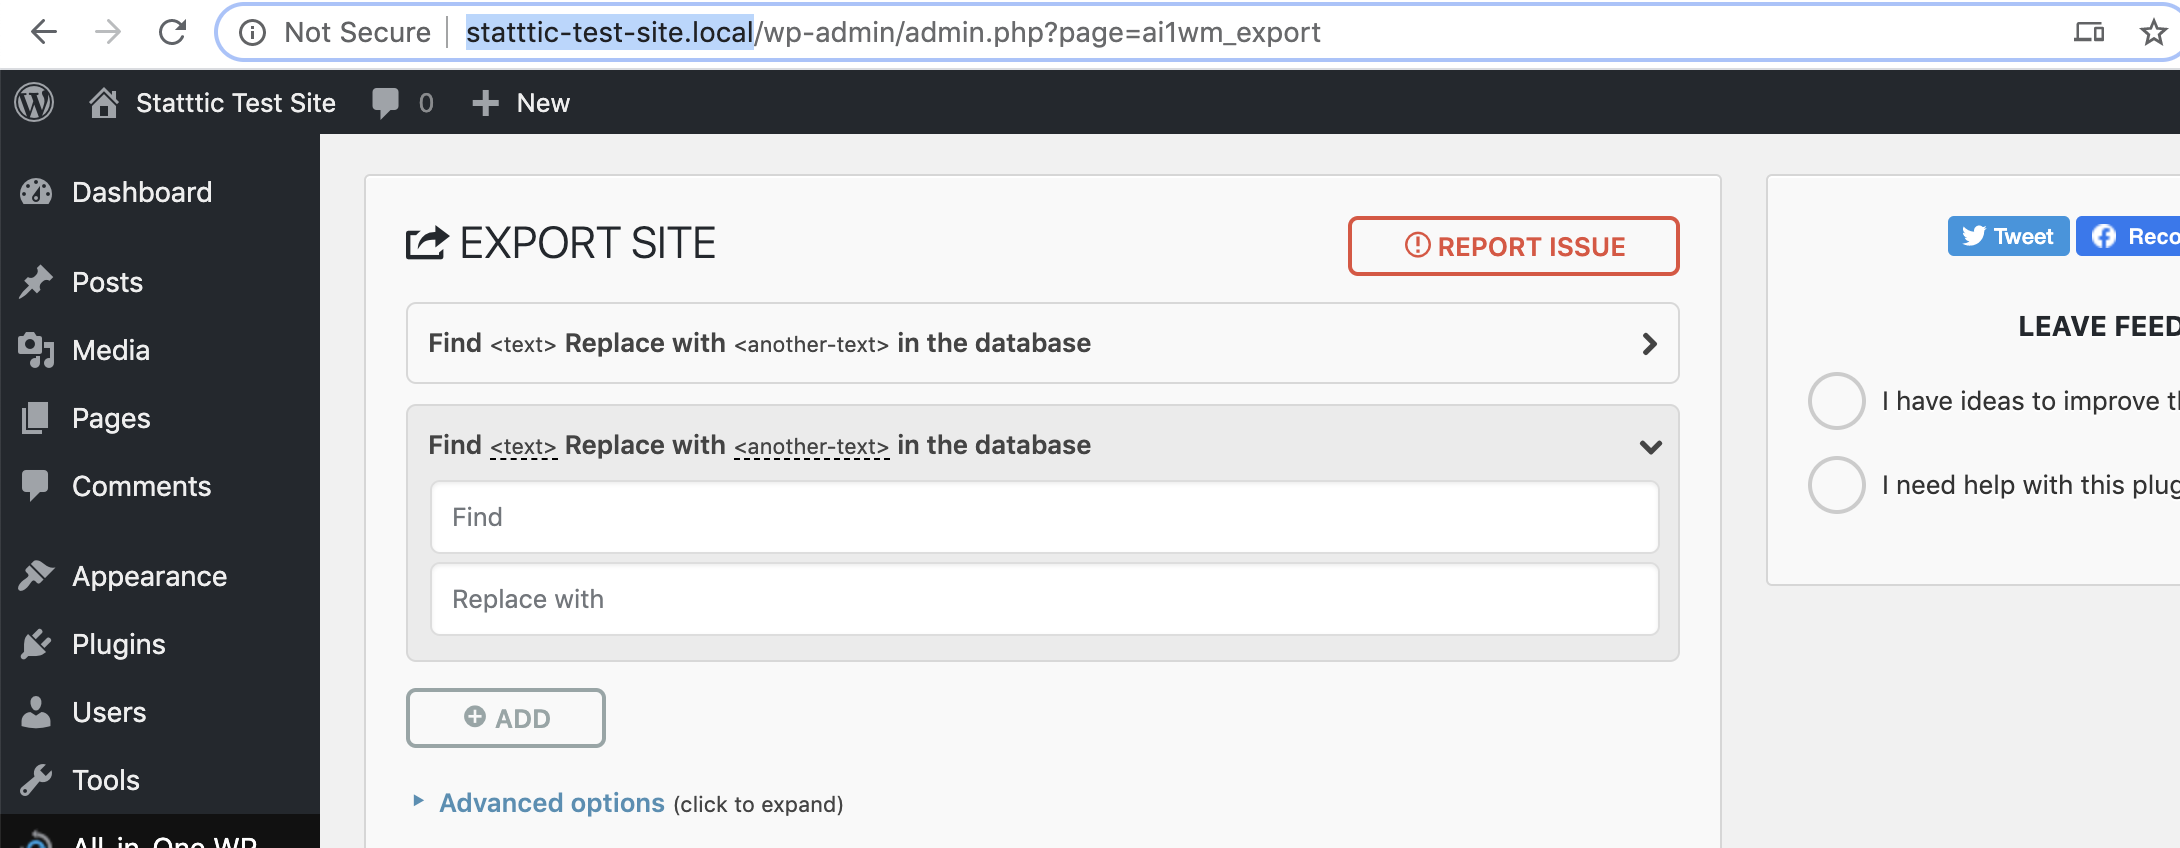
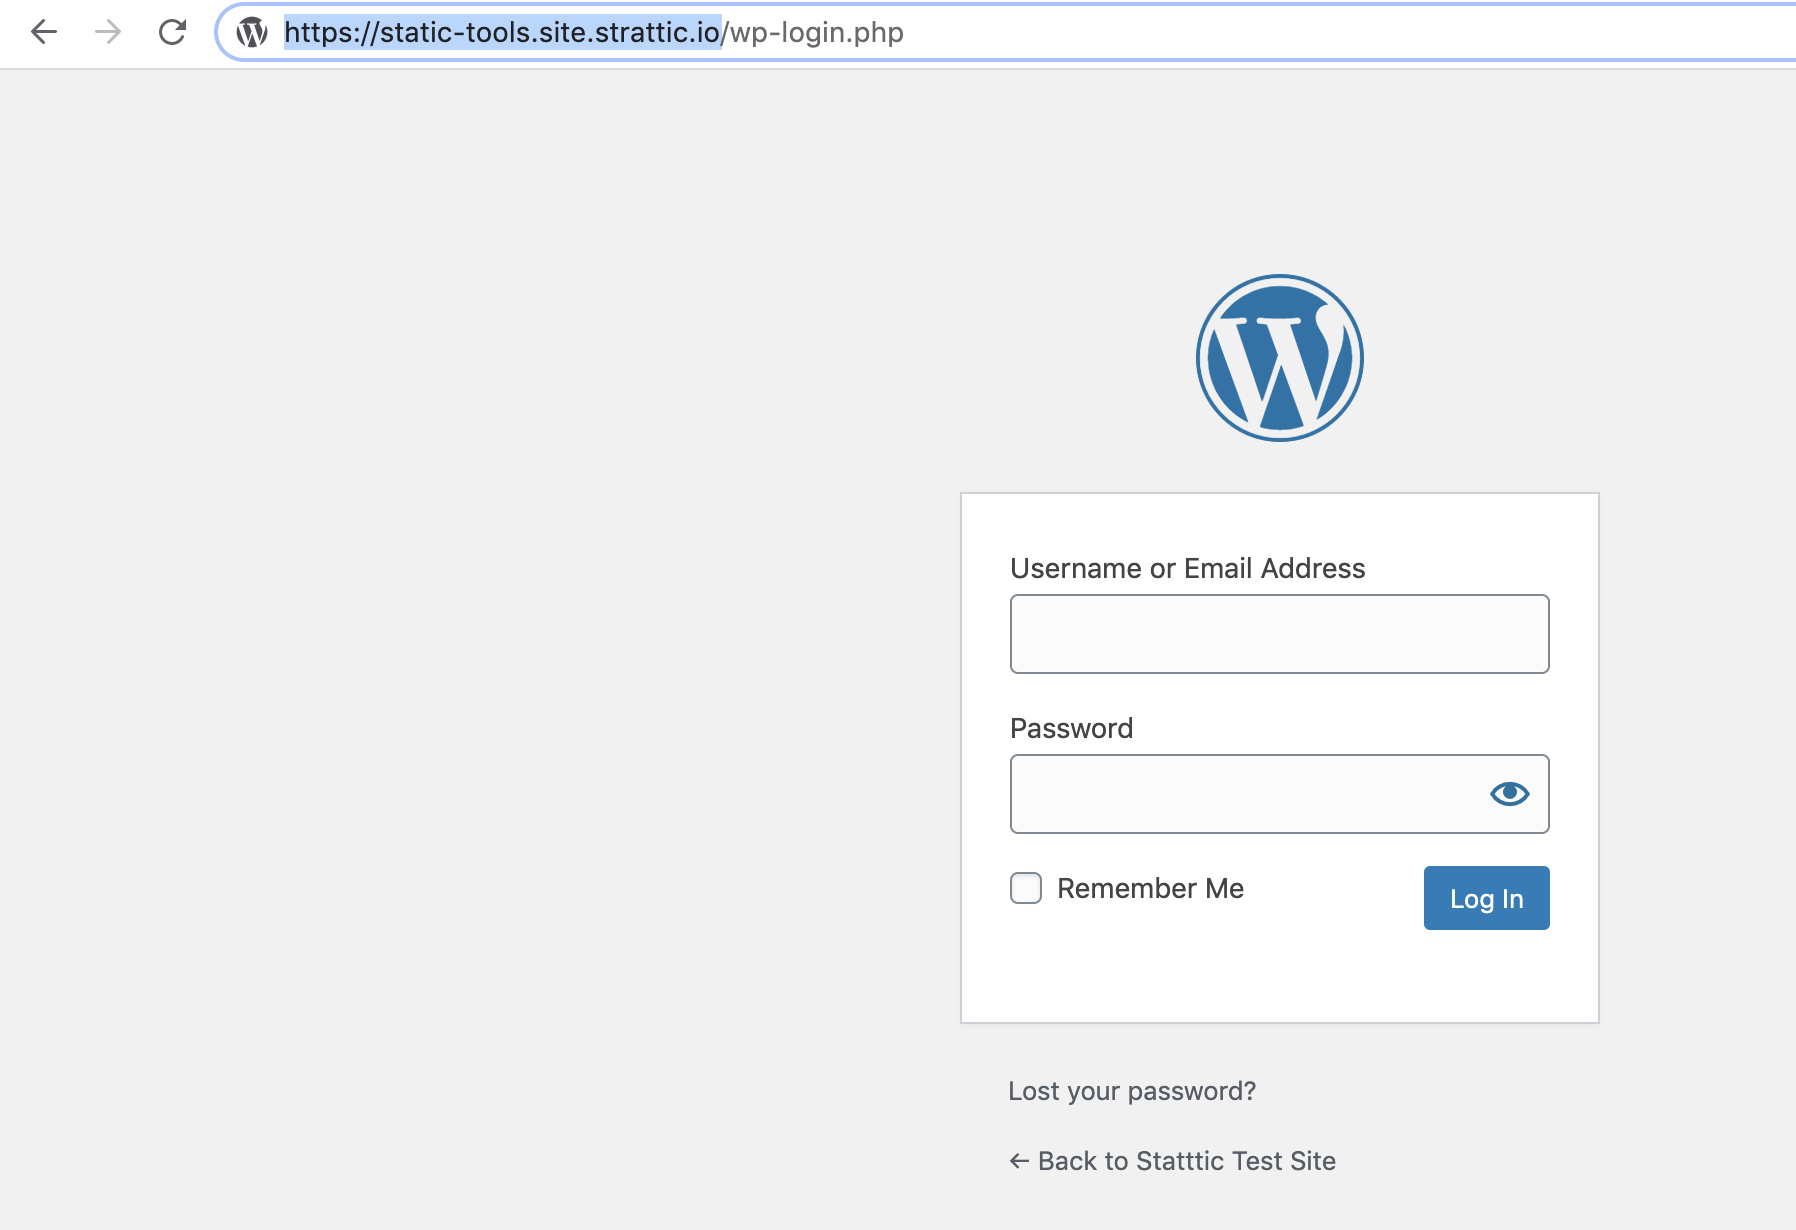
Then enter the URL of your Strattic WordPress site into the “Replace with” field. You can get this by going to your Strattic Dashboard and clicking “Go to WordPress Dashboard” for your site. Then copy and paste the URL from the browser.
The completed fields should look something like this:
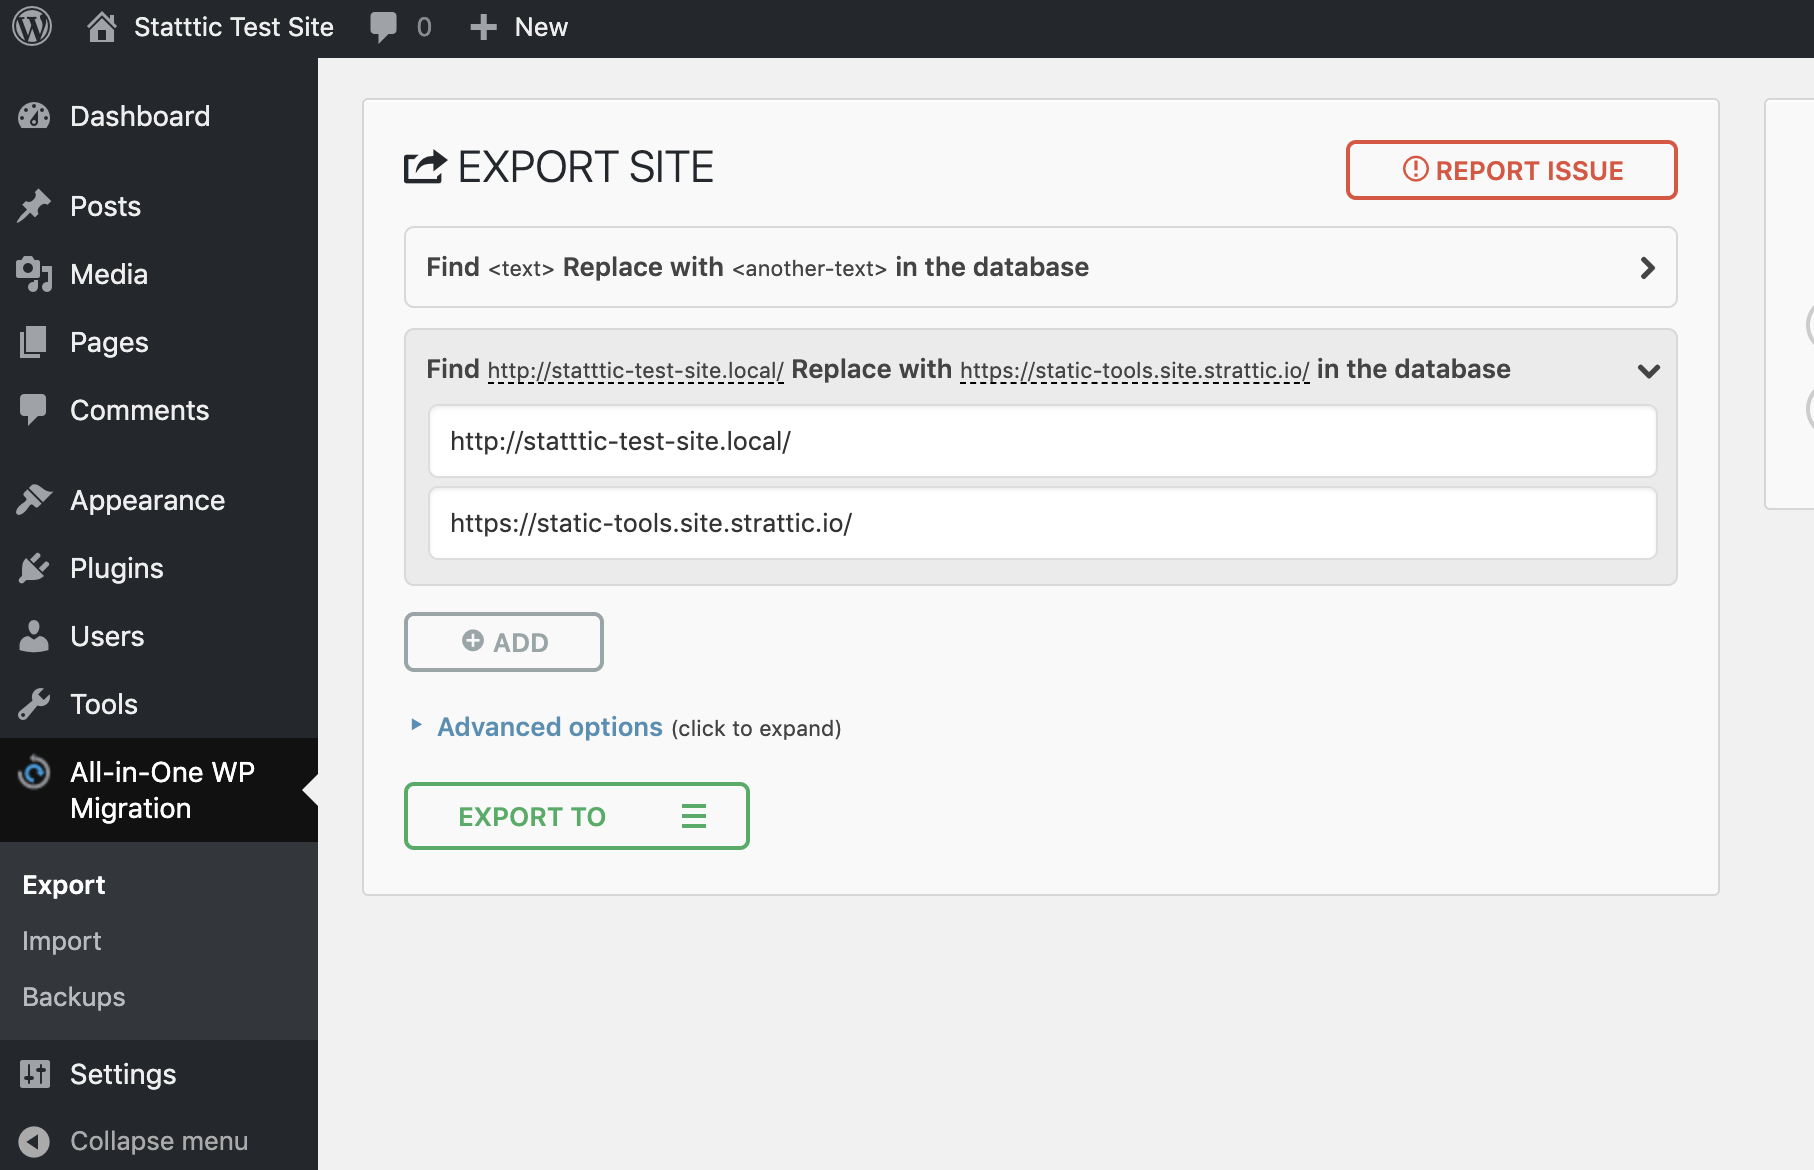
Then click “Export To” and select “File.” This should give you a file that ends in .wpress .
Now login to your WordPress site on Strattic and install the All-in-One WP Migration on that site.
Then navigate to All-in-One WP Migration > Import.
Click on “Import From” and select “File.”
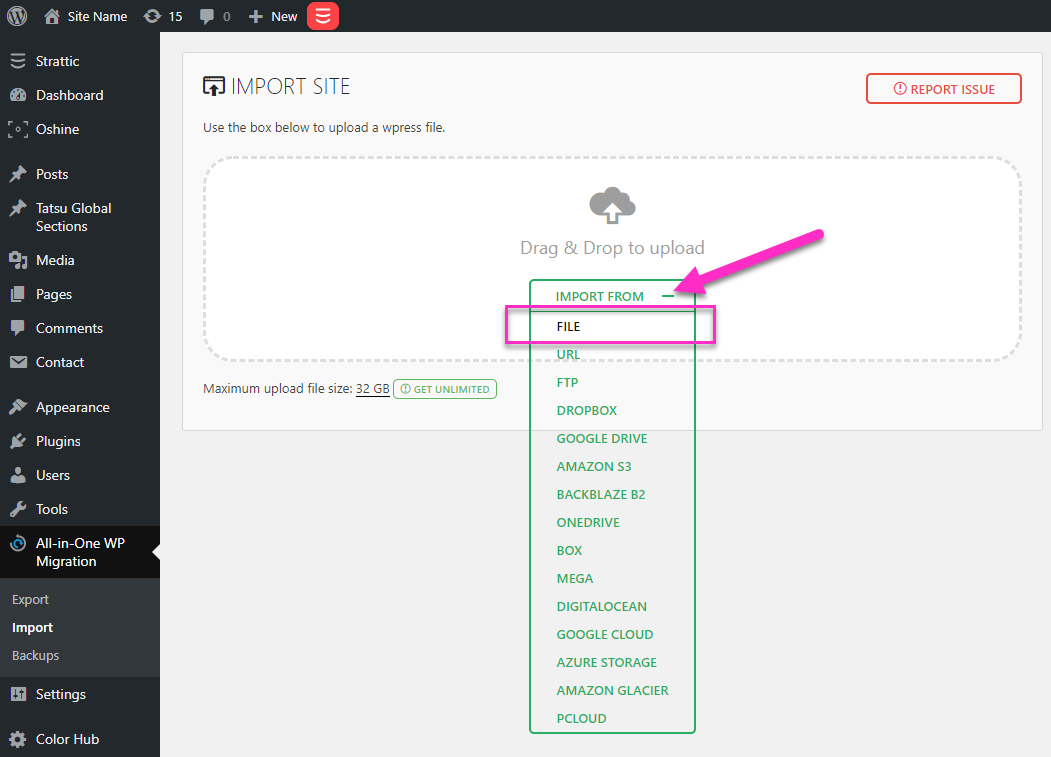
Select the .wpress file that you just exported from your local site. Click through any prompts to continue with the process (it may prompt you to make sure you have enough disk space and a backup).
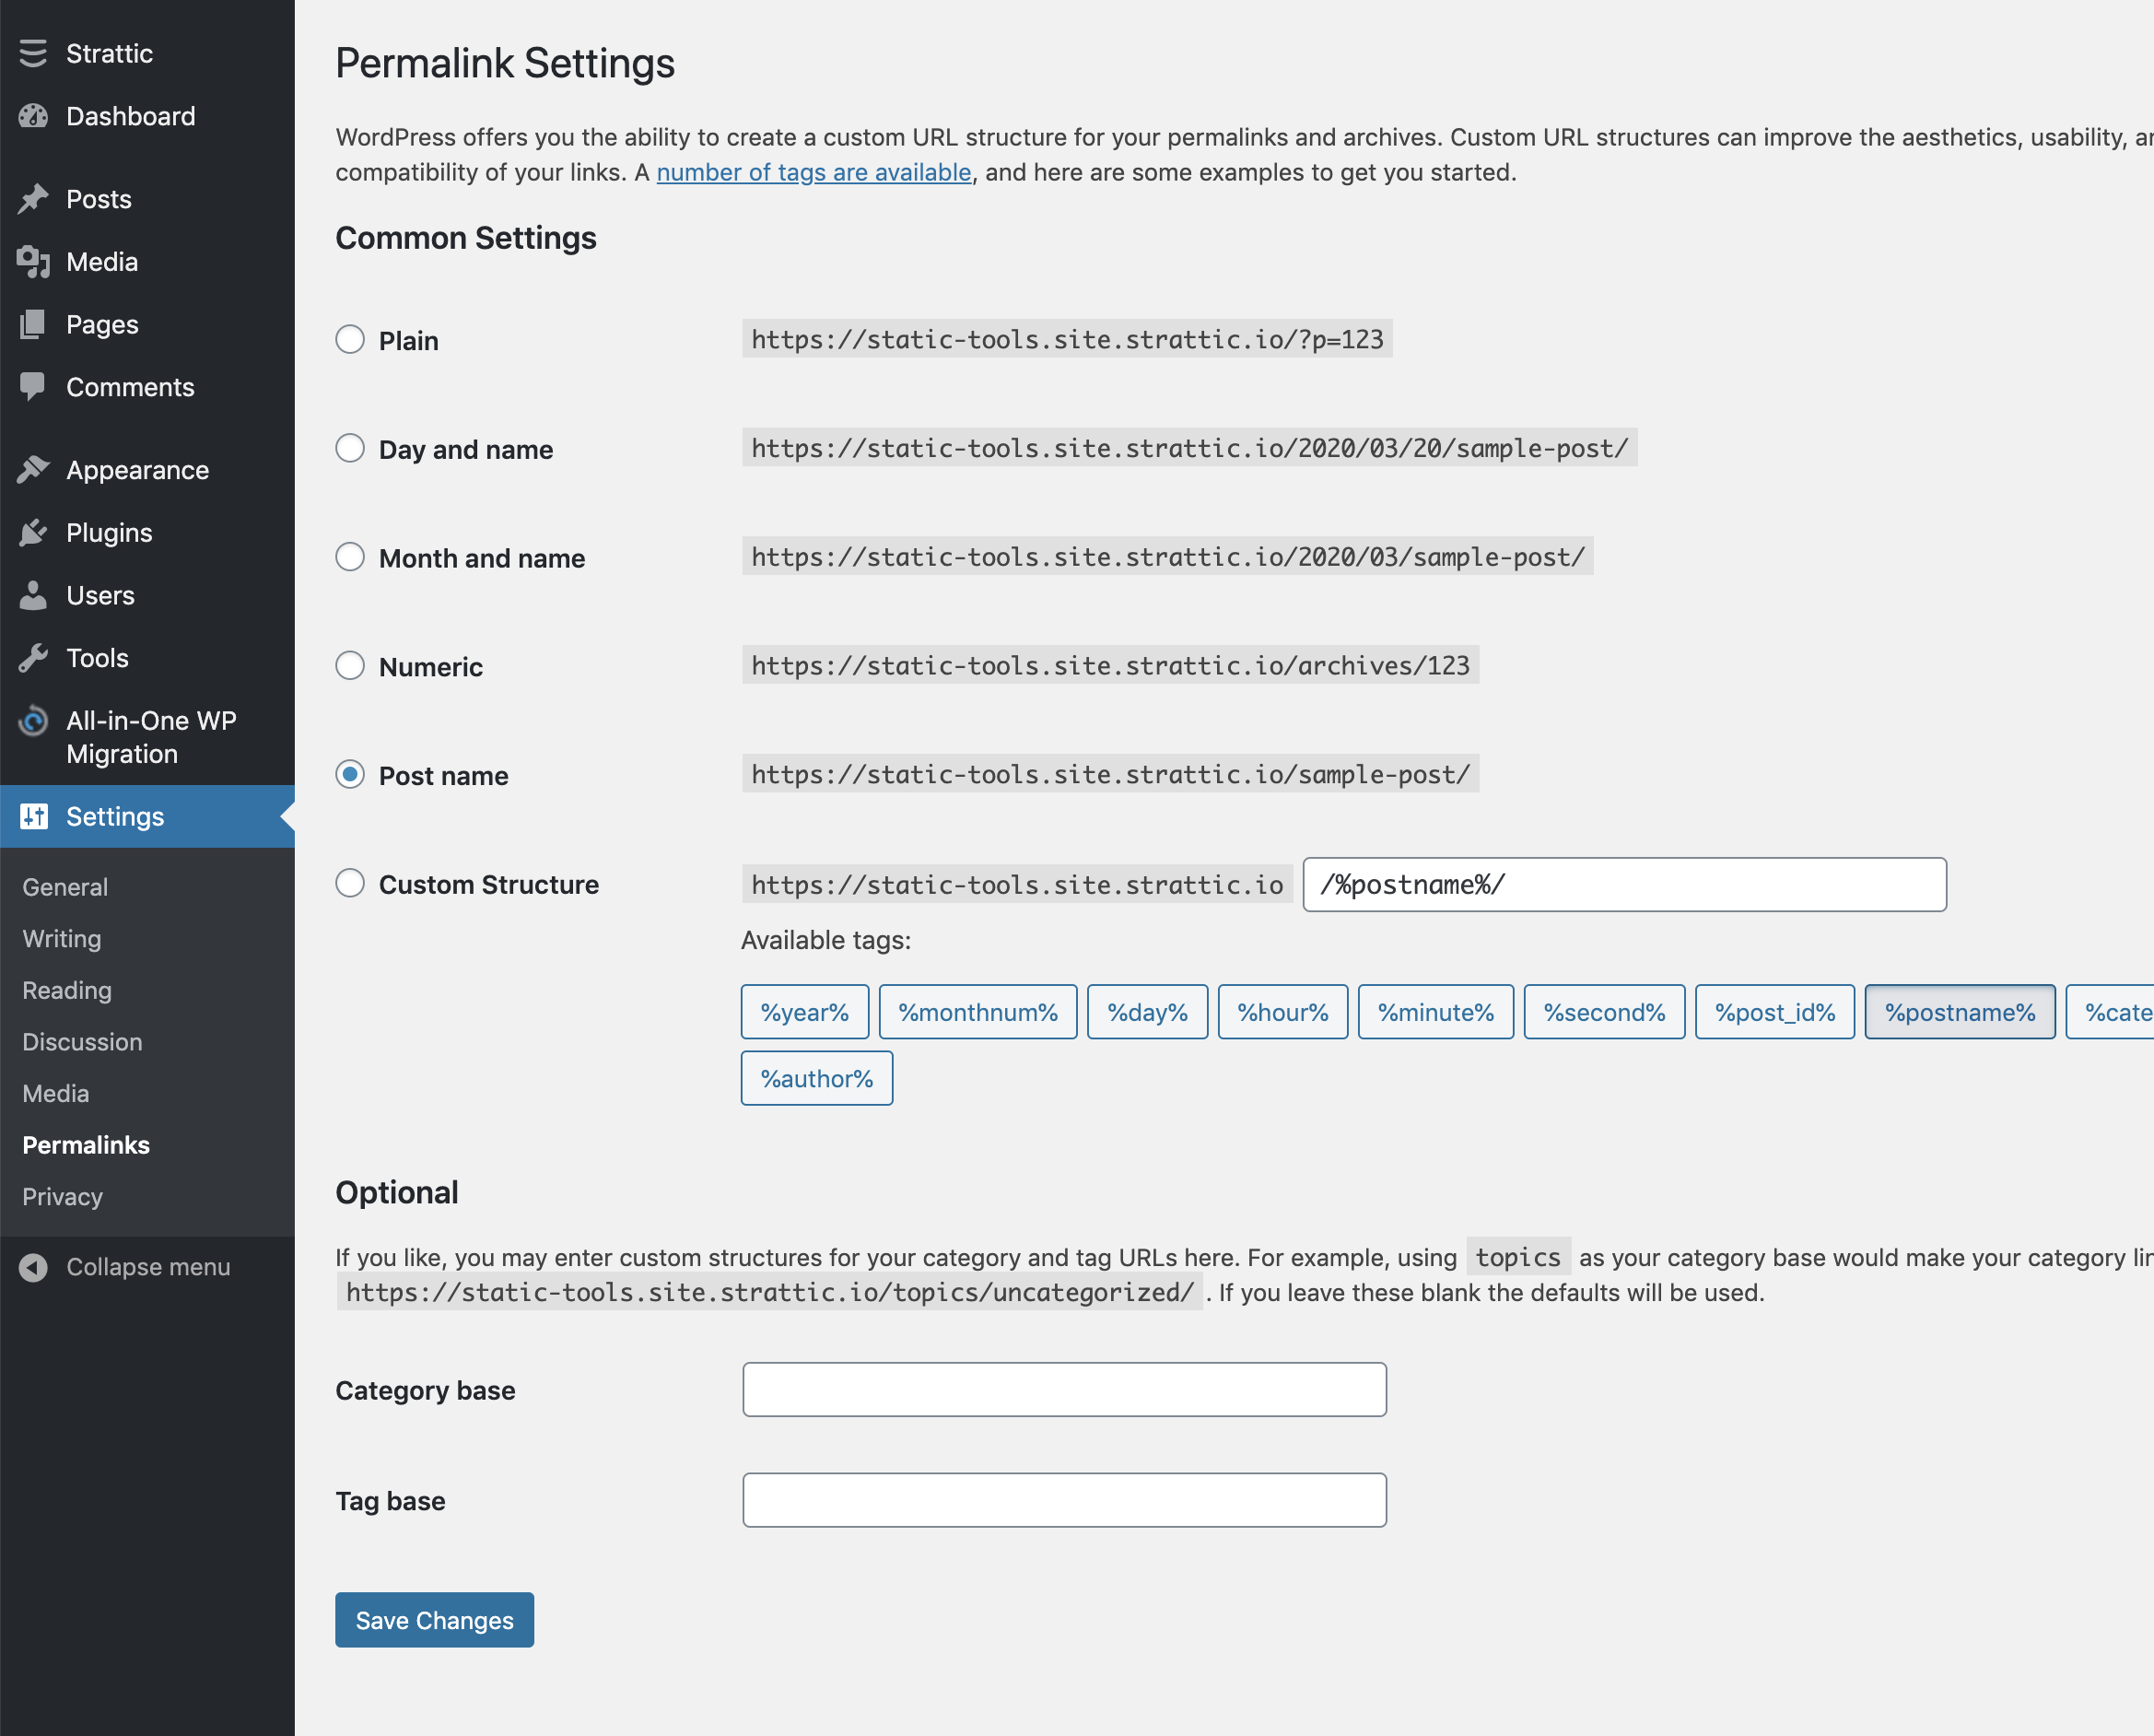
Once the migration is completed, you will need to “Save permalinks structure.”
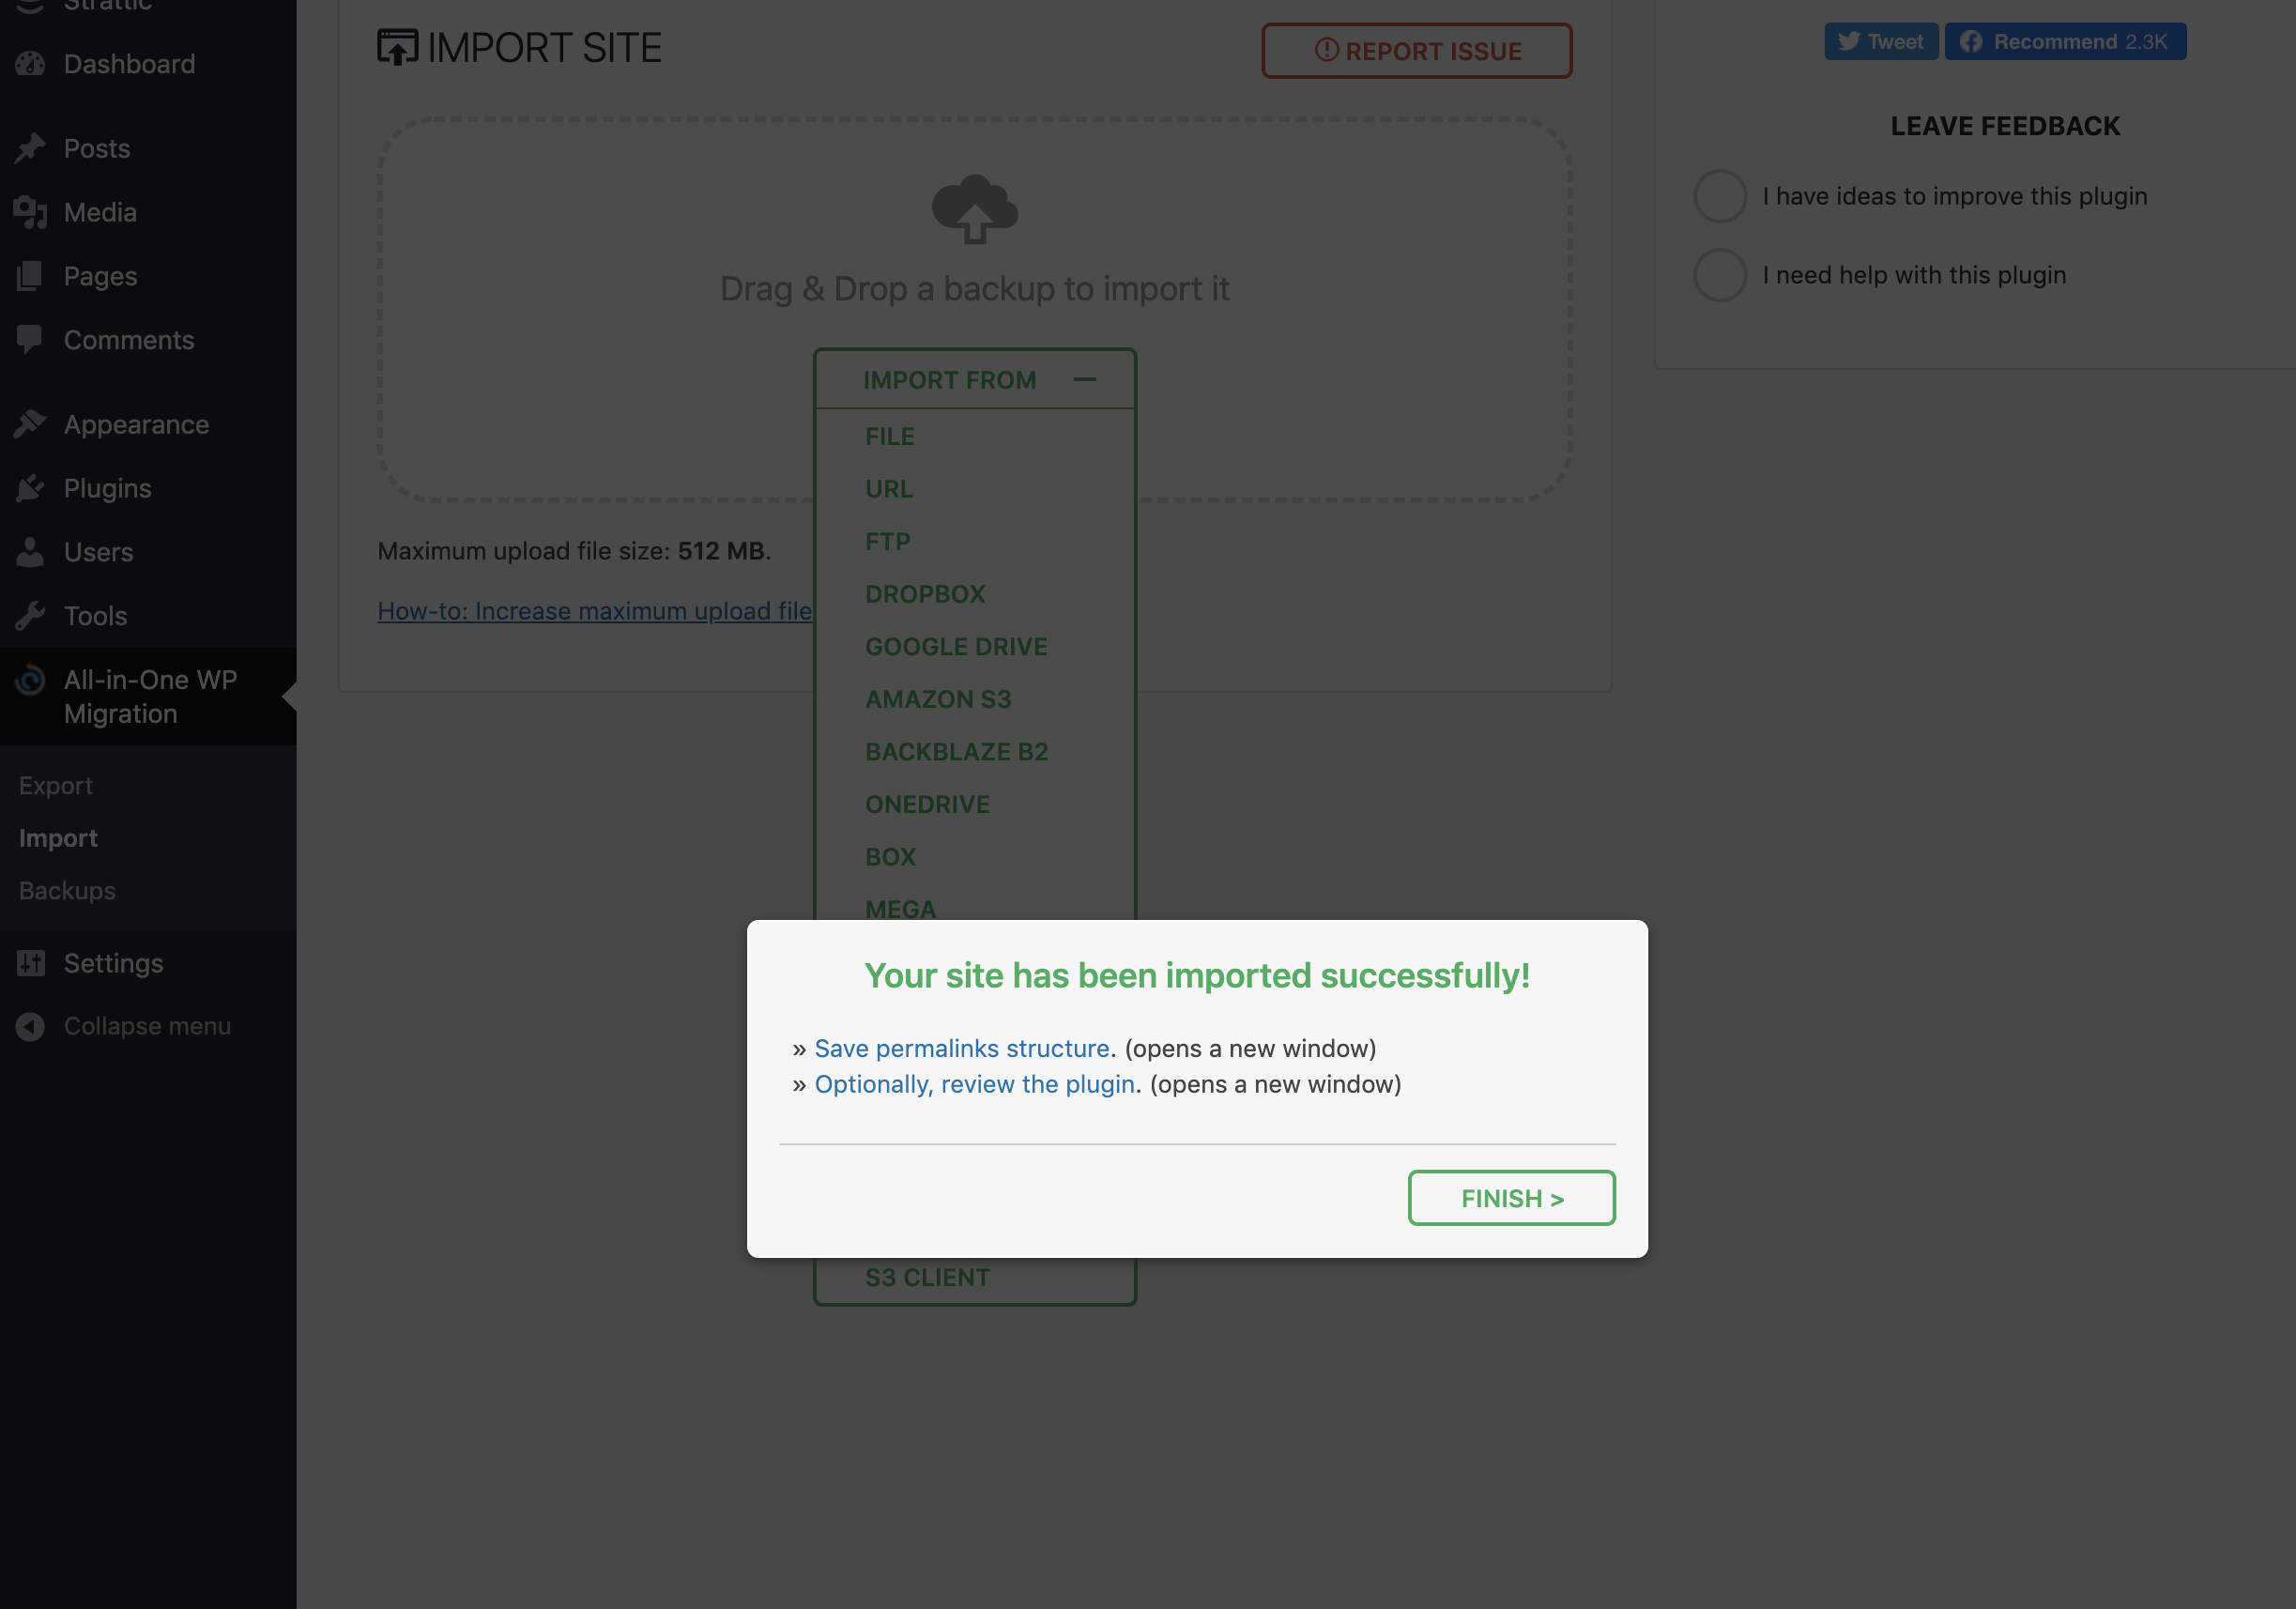
Click on the link to “Save permalink structure” and then click “Save changes” on the Permalinks page.
This will complete the migration process from your Local Development to Strattic.
Migrating from Strattic to Local Development
To migrate from Strattic to local development, simply follow the process outlined above; however, starting on your live Strattic site:
-
Install and activate All-in-One WP Migration on your Strattic site
-
Navigate to All-in-One WP Migration > Export
-
Click the “+ Add” button to add a find and replace field
-
Enter the URL of your WordPress site on Strattic into the “Find” field
-
Enter the URL of your local WordPress site into the “Replace with” field. (You need to have a local WordPress site setup already.)
-
Click “Export To” and select the “File” option.
-
That should download a file ending in
.wpress -
Now install All-in-One WP Migration on your local WordPress site
-
Navigate to All-in-One WP Migration > Import and click “Import From” and select “File.”
-
Select the
.wpressfile you exported from your Strattic site. -
Click through the migration prompts (it may tell you you need enough disk space and to have a backup of your site).
-
When the migration is complete, you will need to click on the link to “Save permalink structure” and then click “Save changes” on the Permalinks page.
This should complete the migration process from Strattic to Local development.